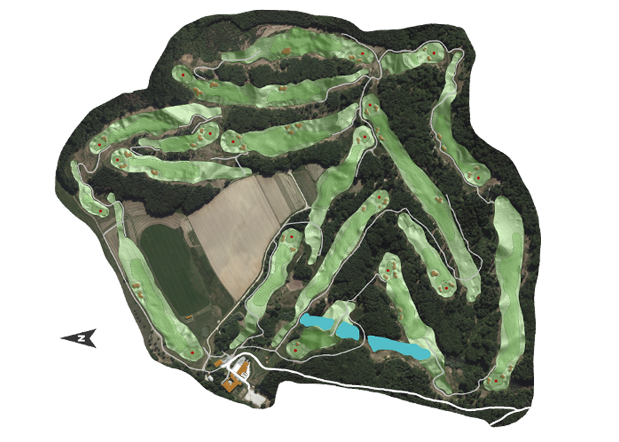
All holes
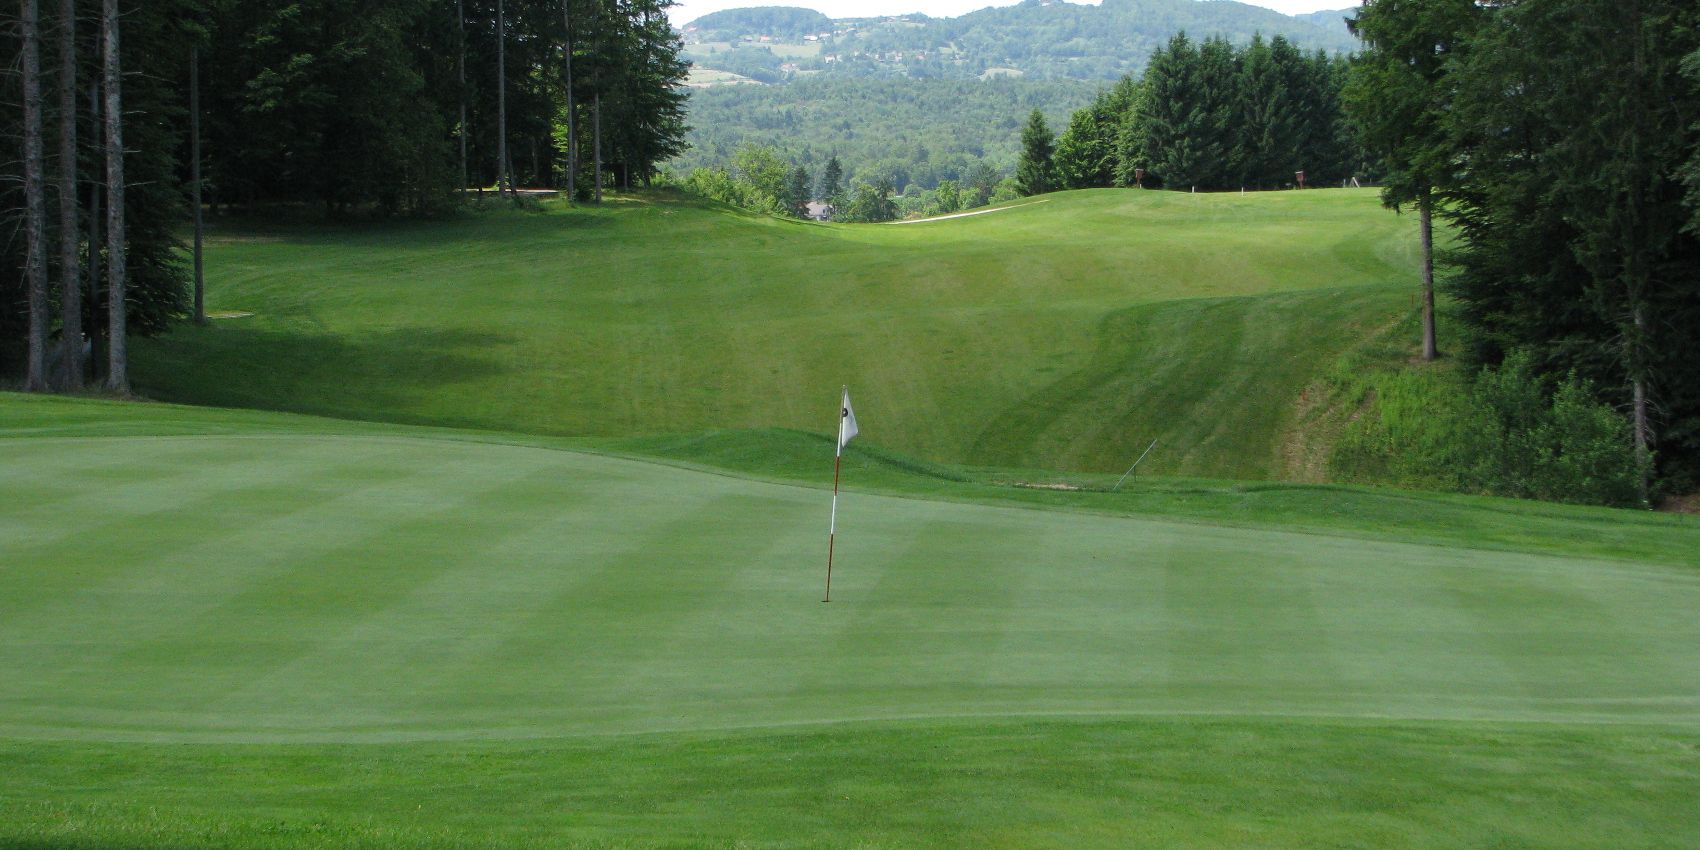
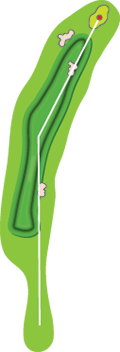
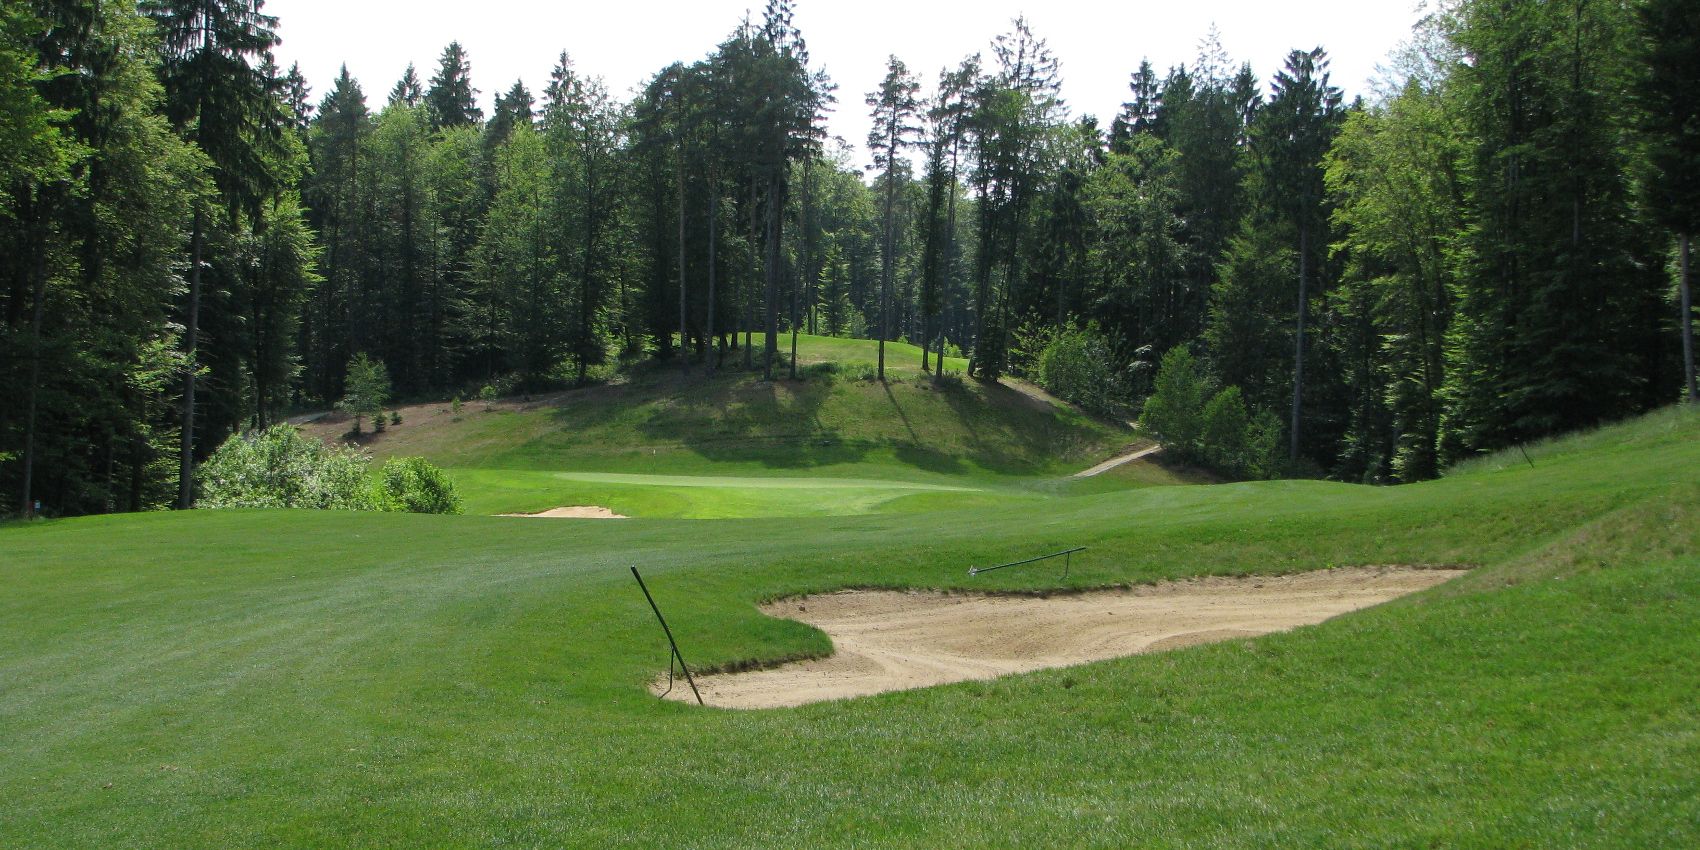
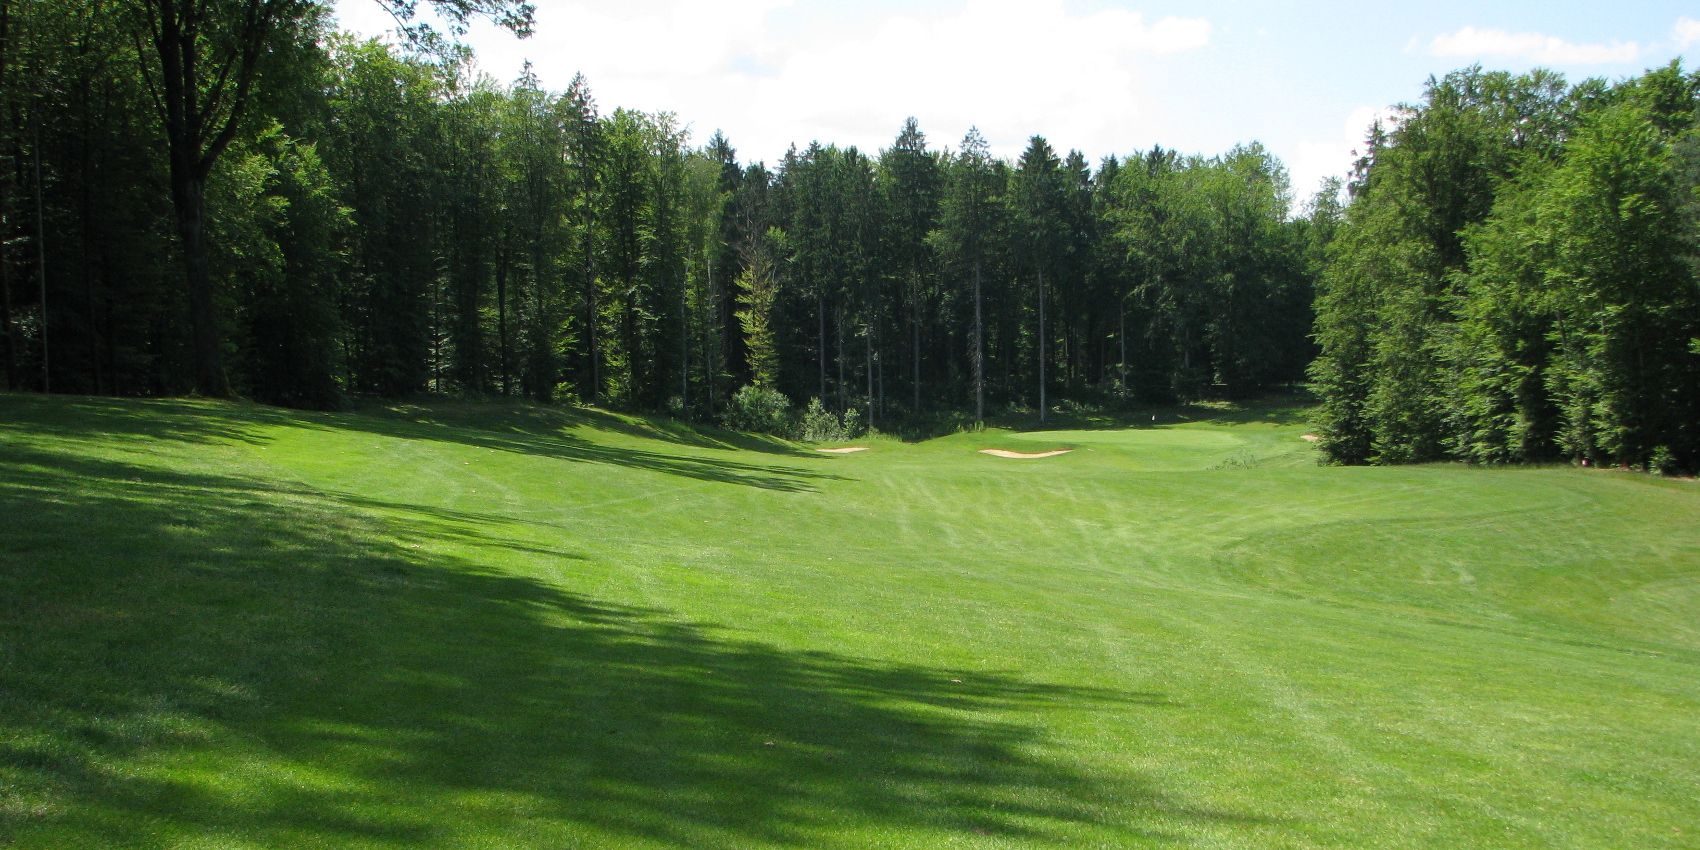
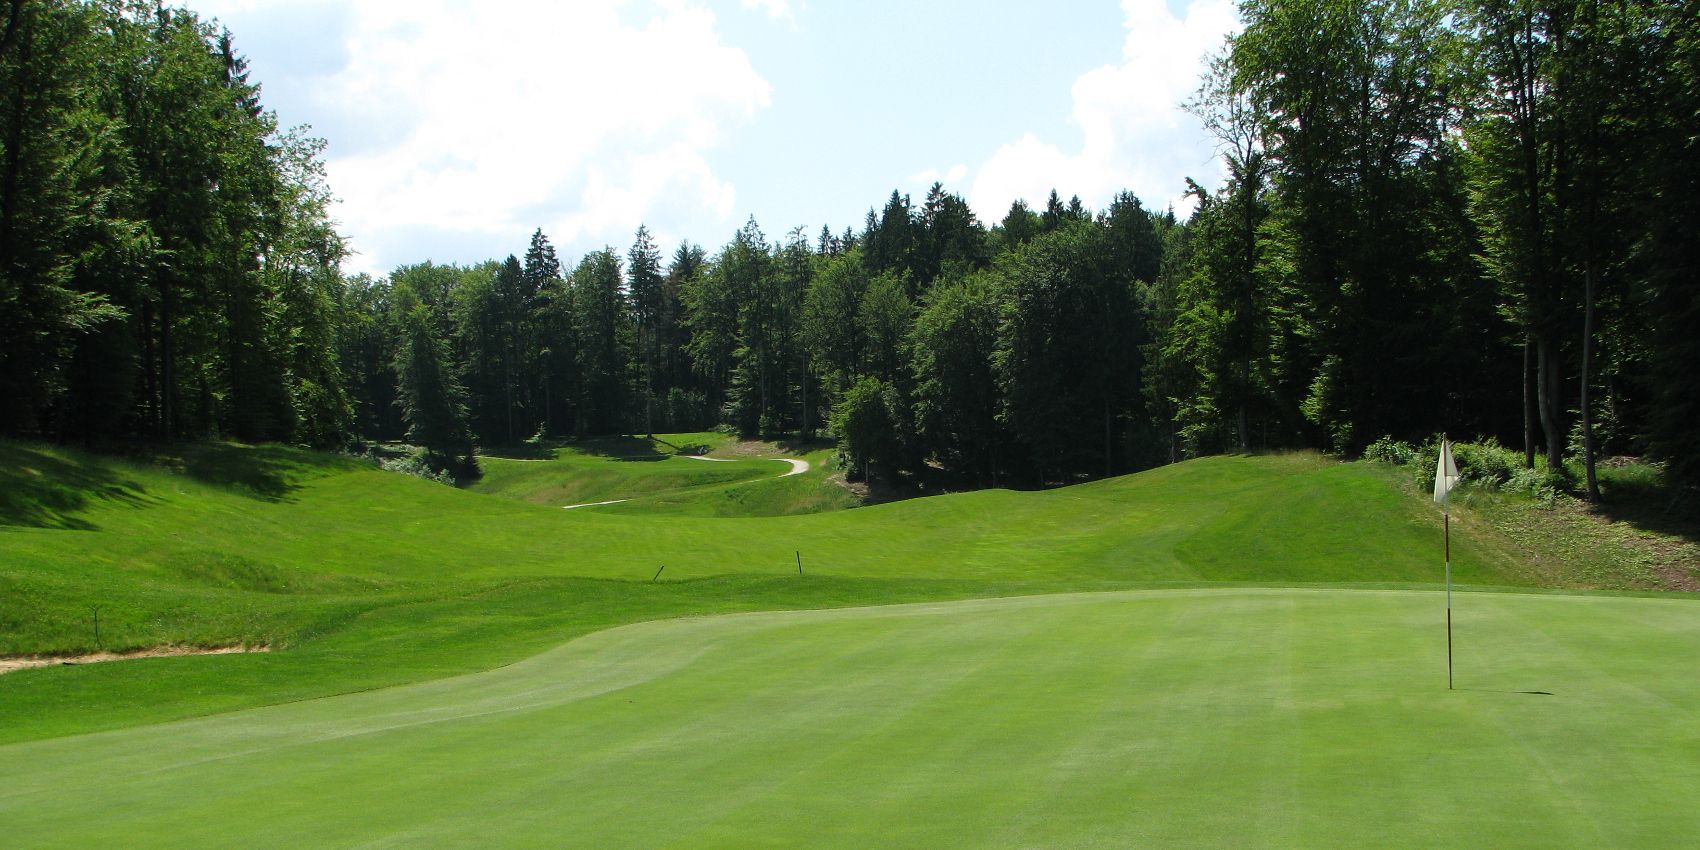
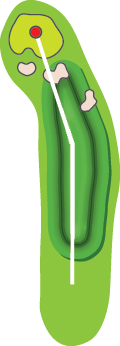
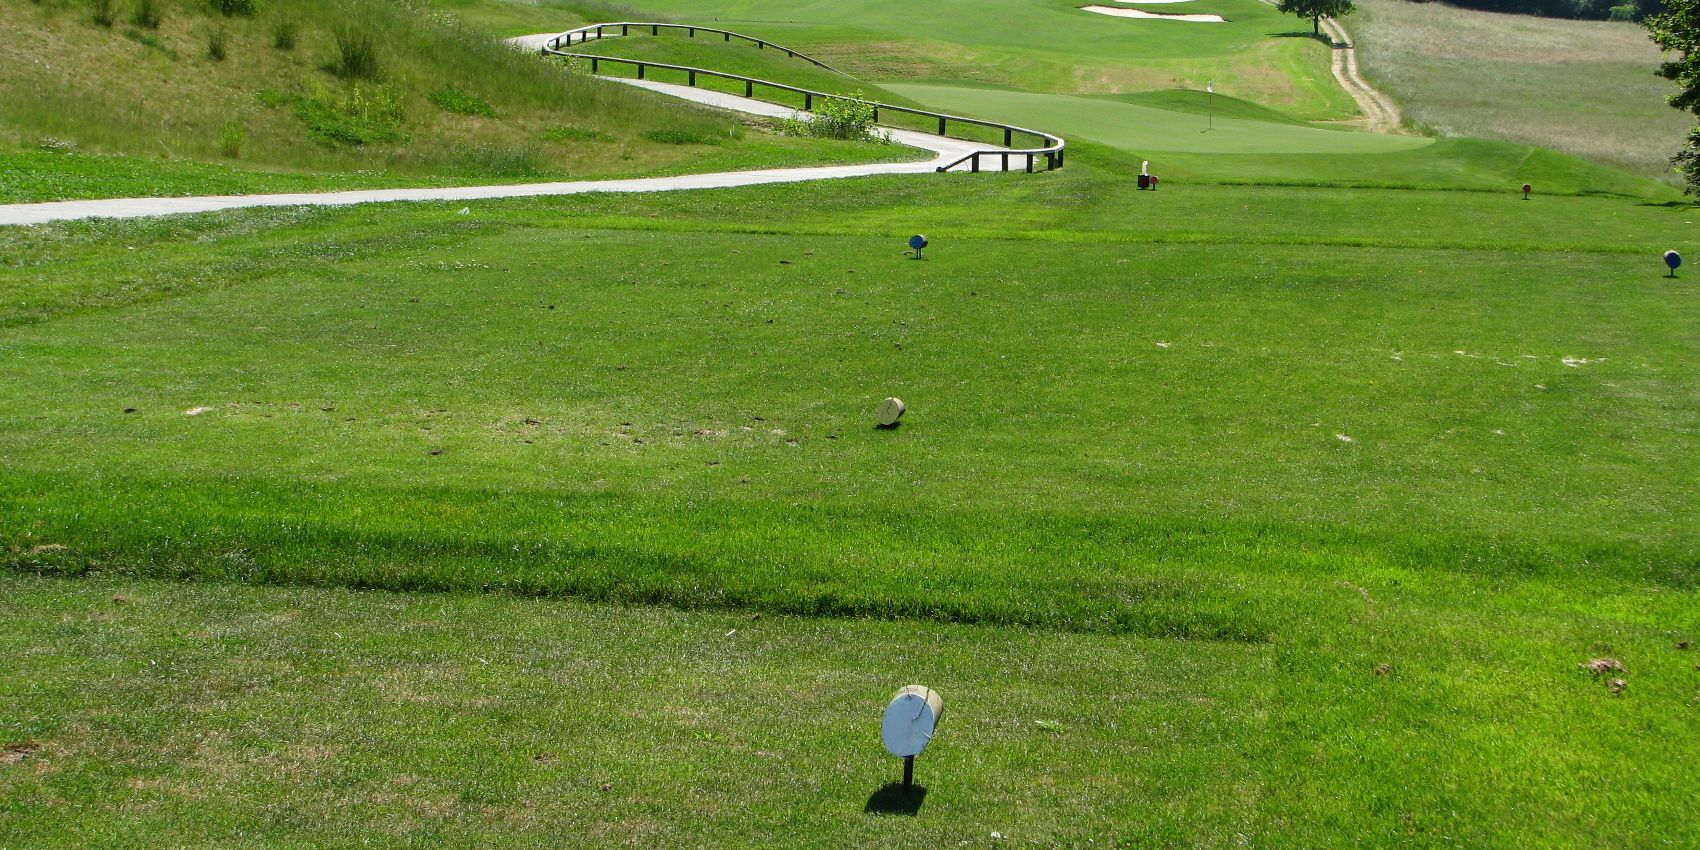
- PAR4
- HCP0
- Stroke13
- 326
- 310
- 294
- 266


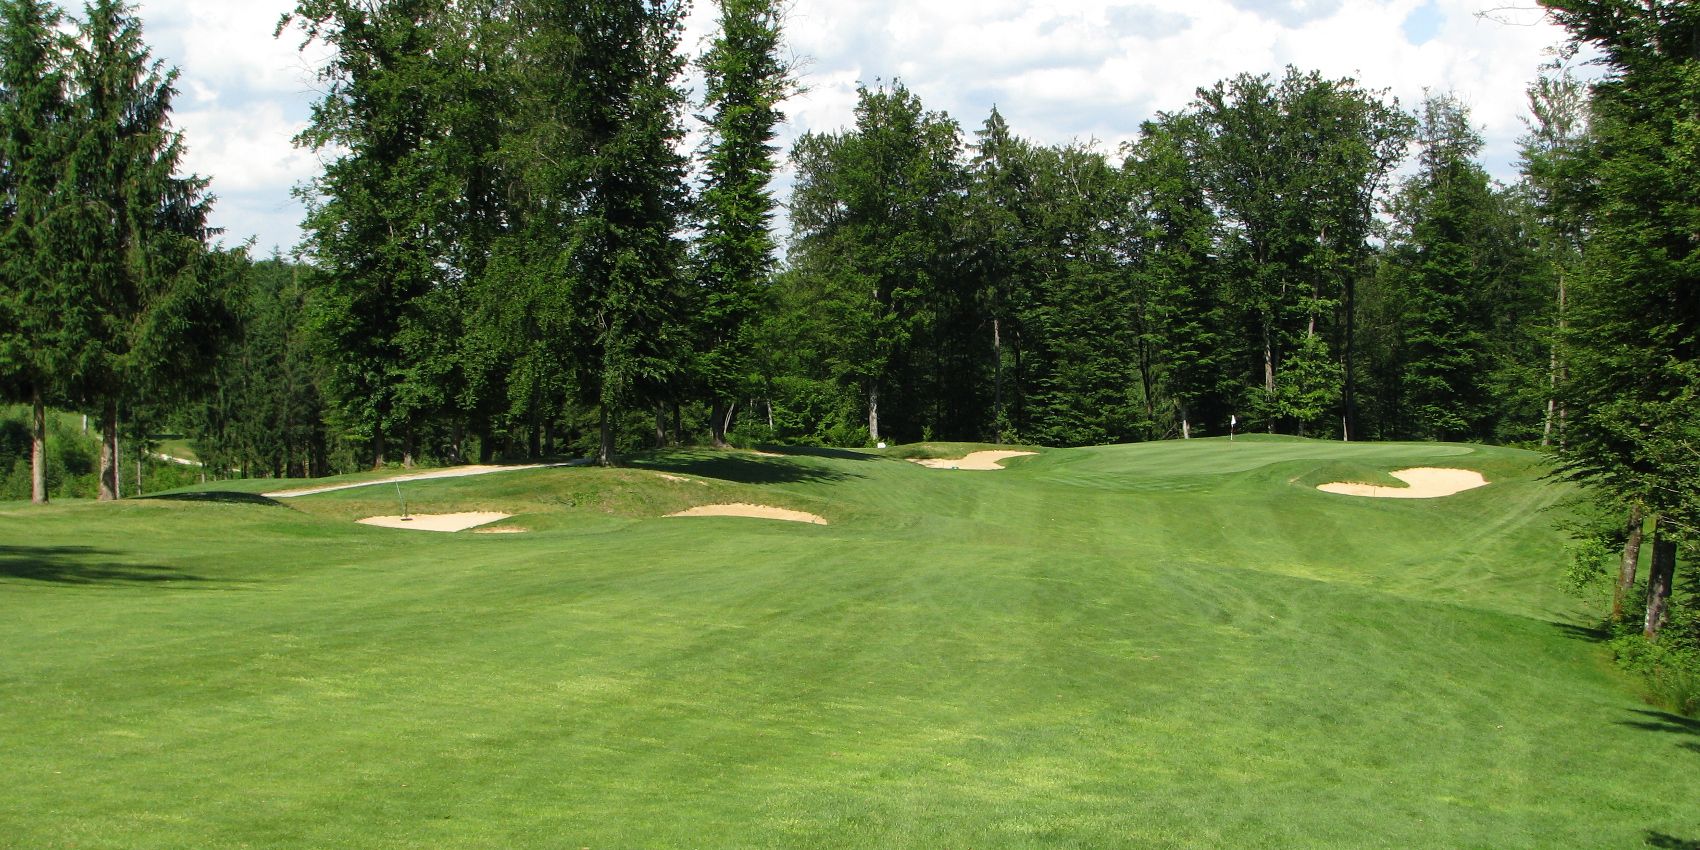
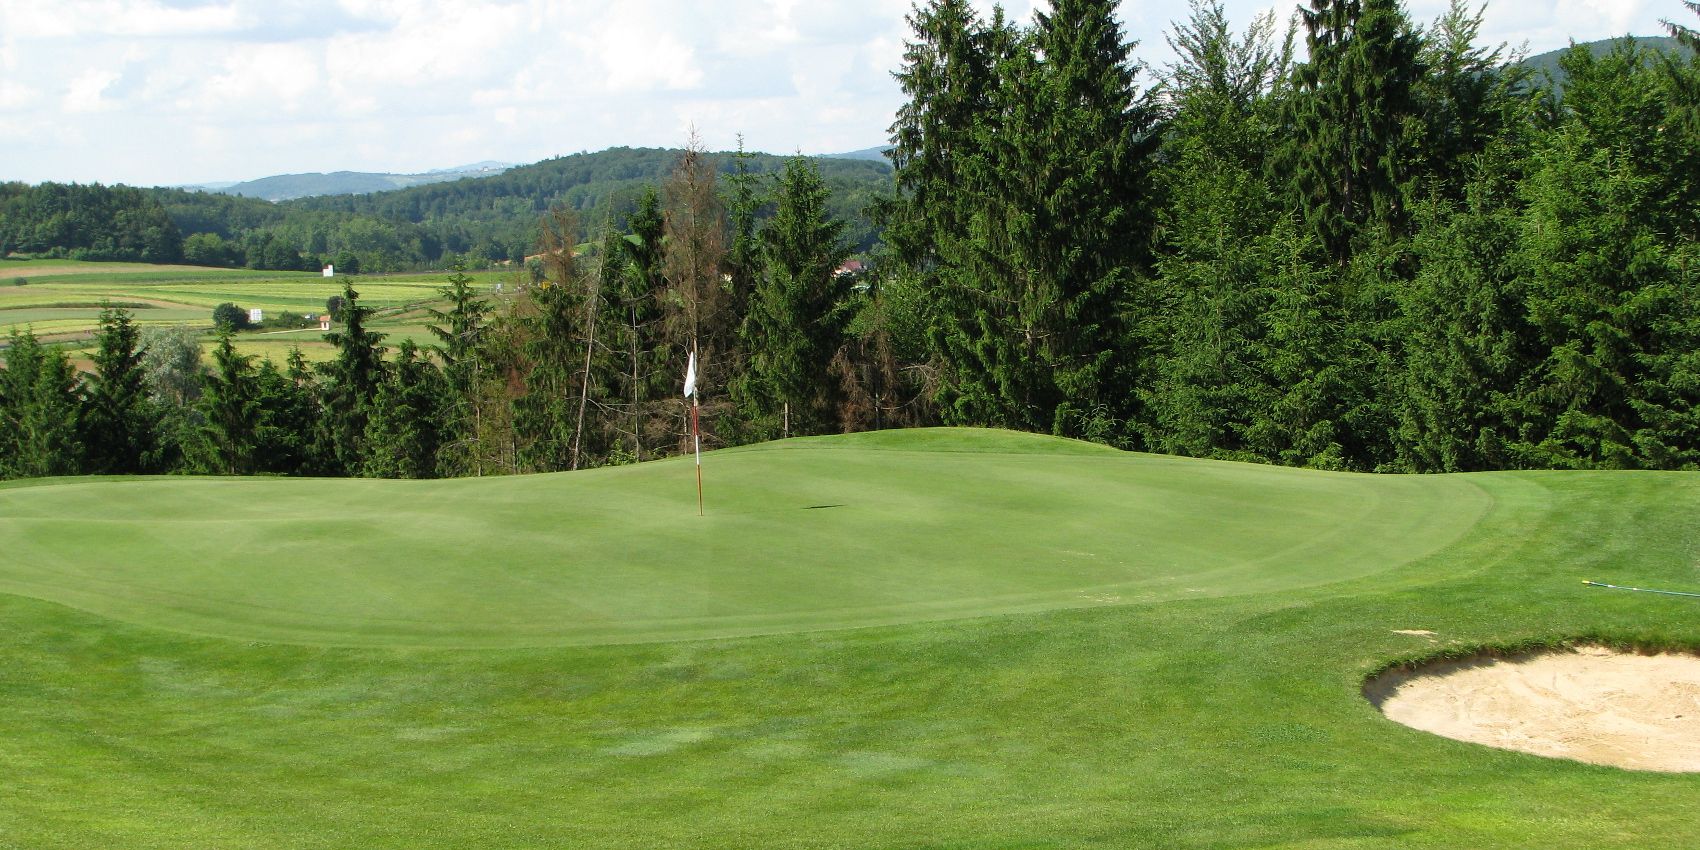
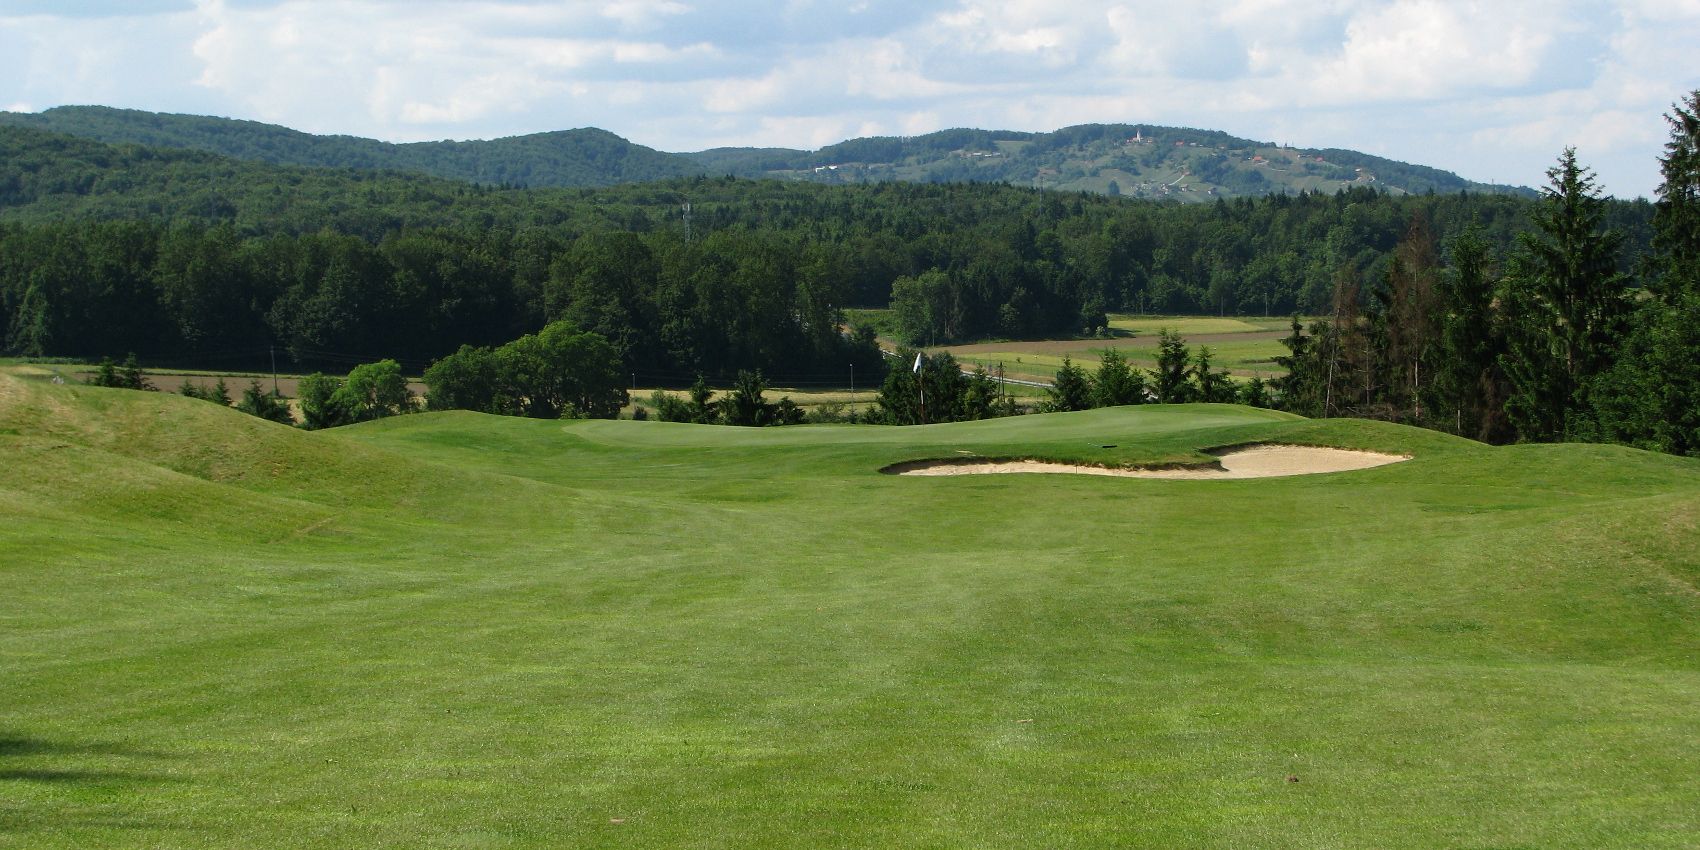
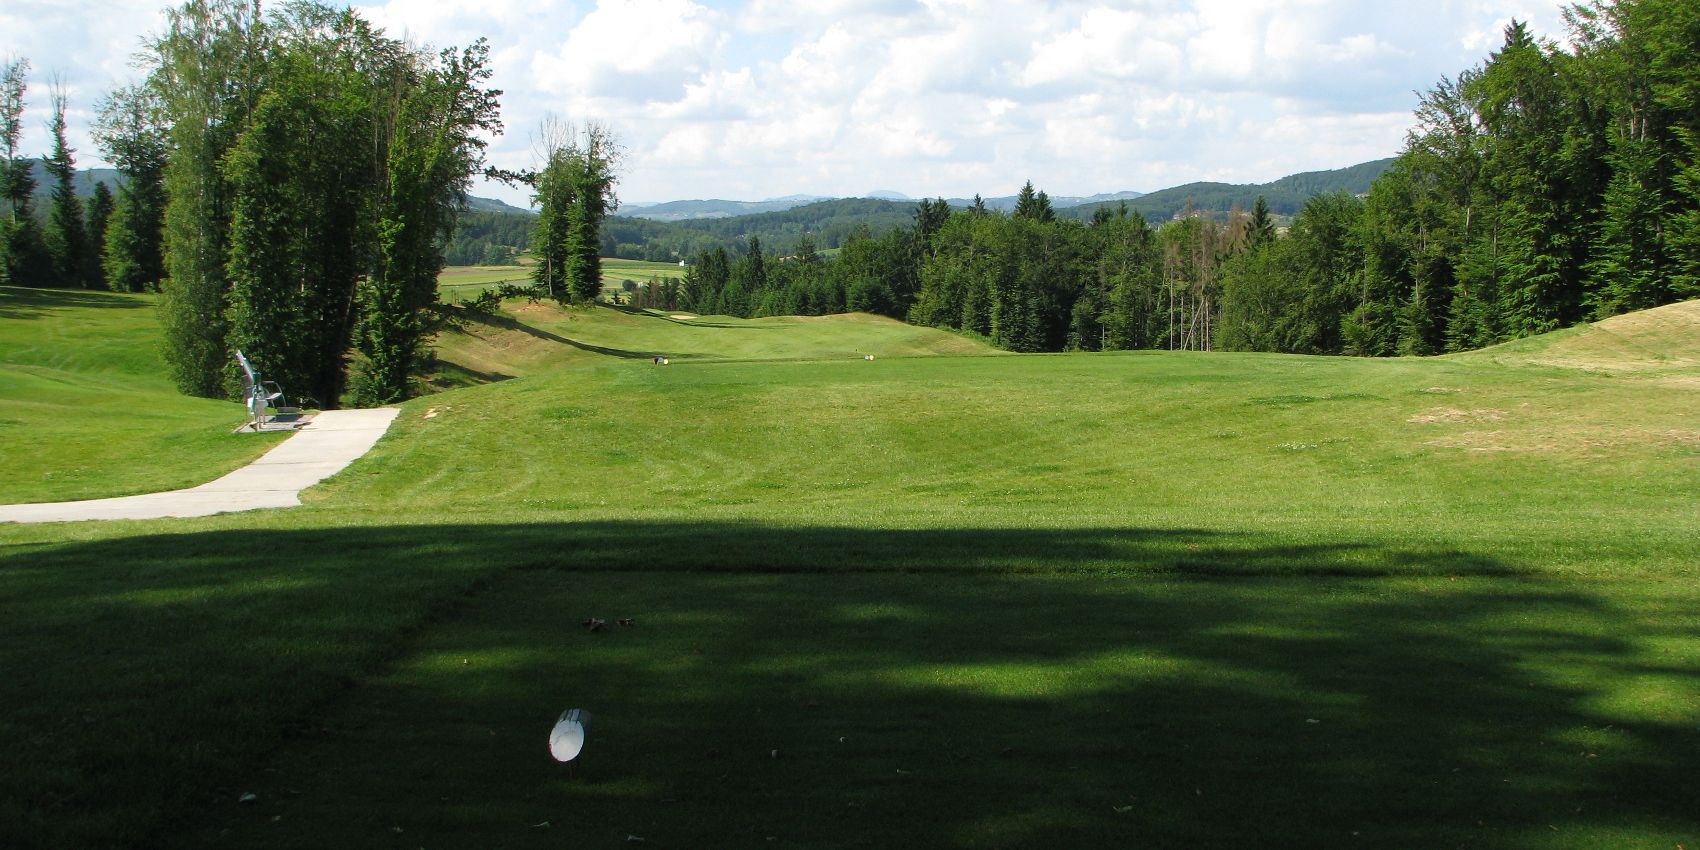
Teeing ground of the 326 meters long first hole is raised 20 meters above the clearing. The first shot should be 200 meters long and we are left with a 100 meter shot to the green which deviates to the right with two sand hazards (on the left and right). Out of bounds terrain on the left of the terrain should not be neglected nor should the rocks on the right.
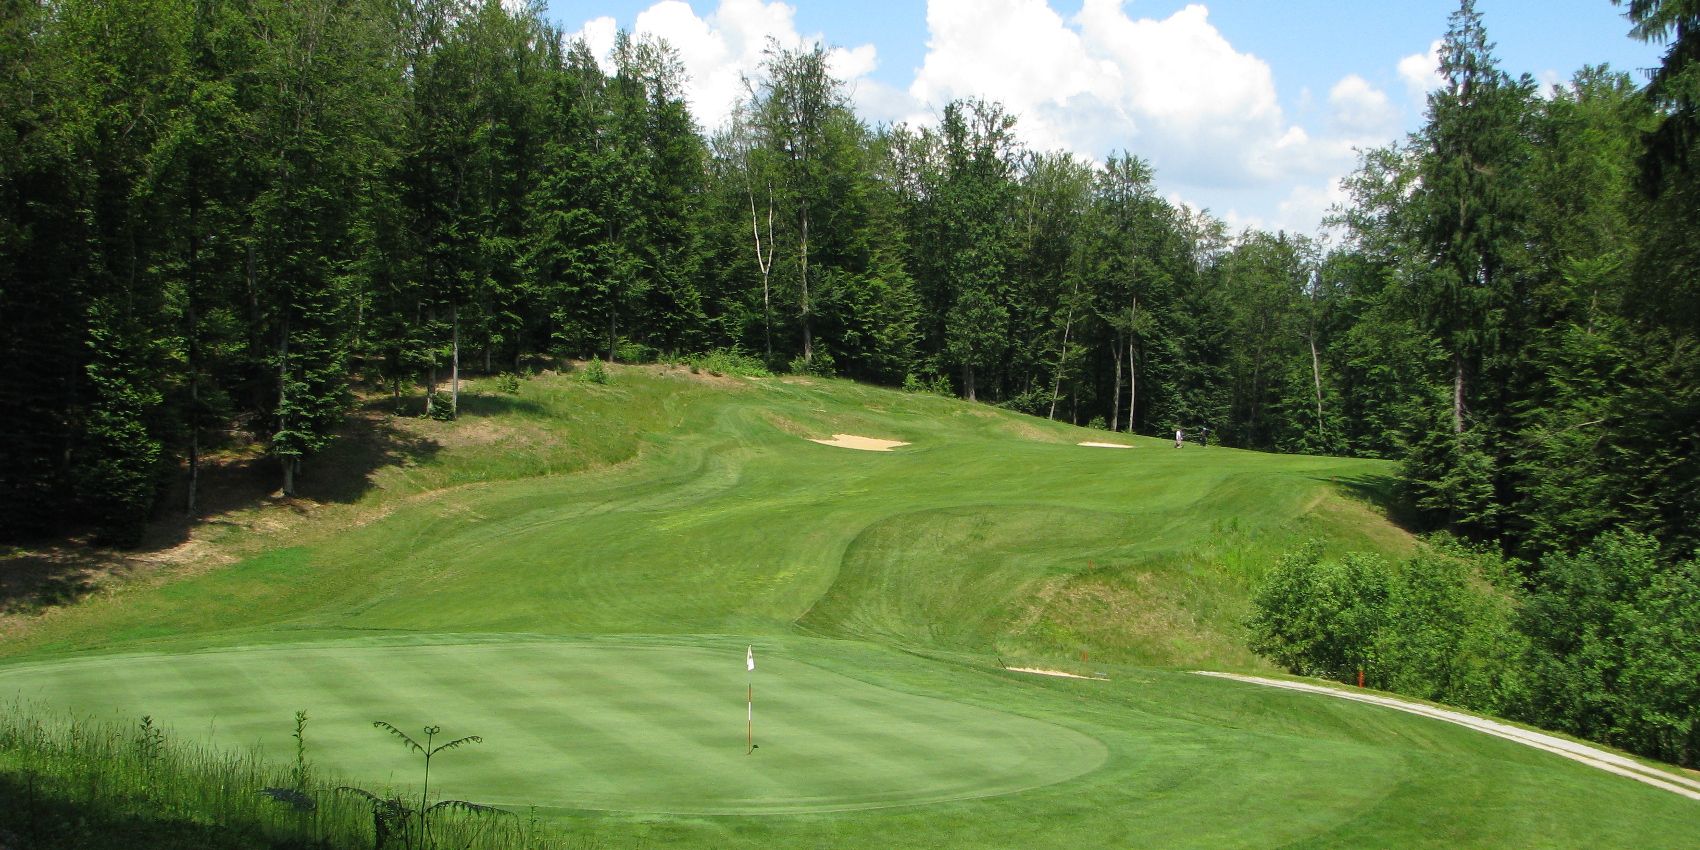
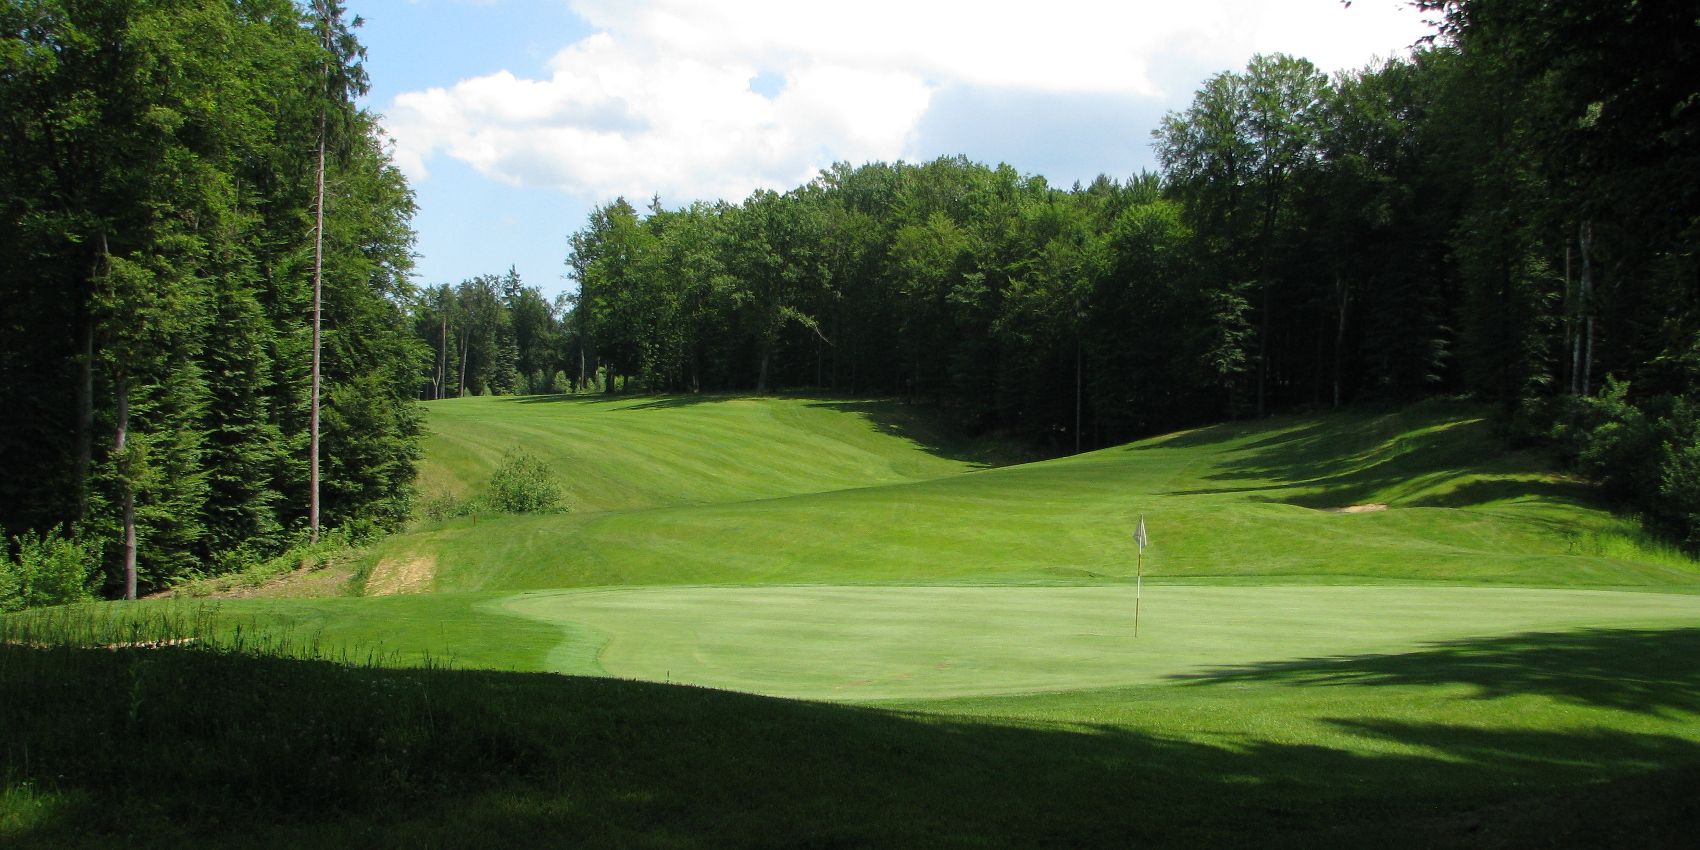
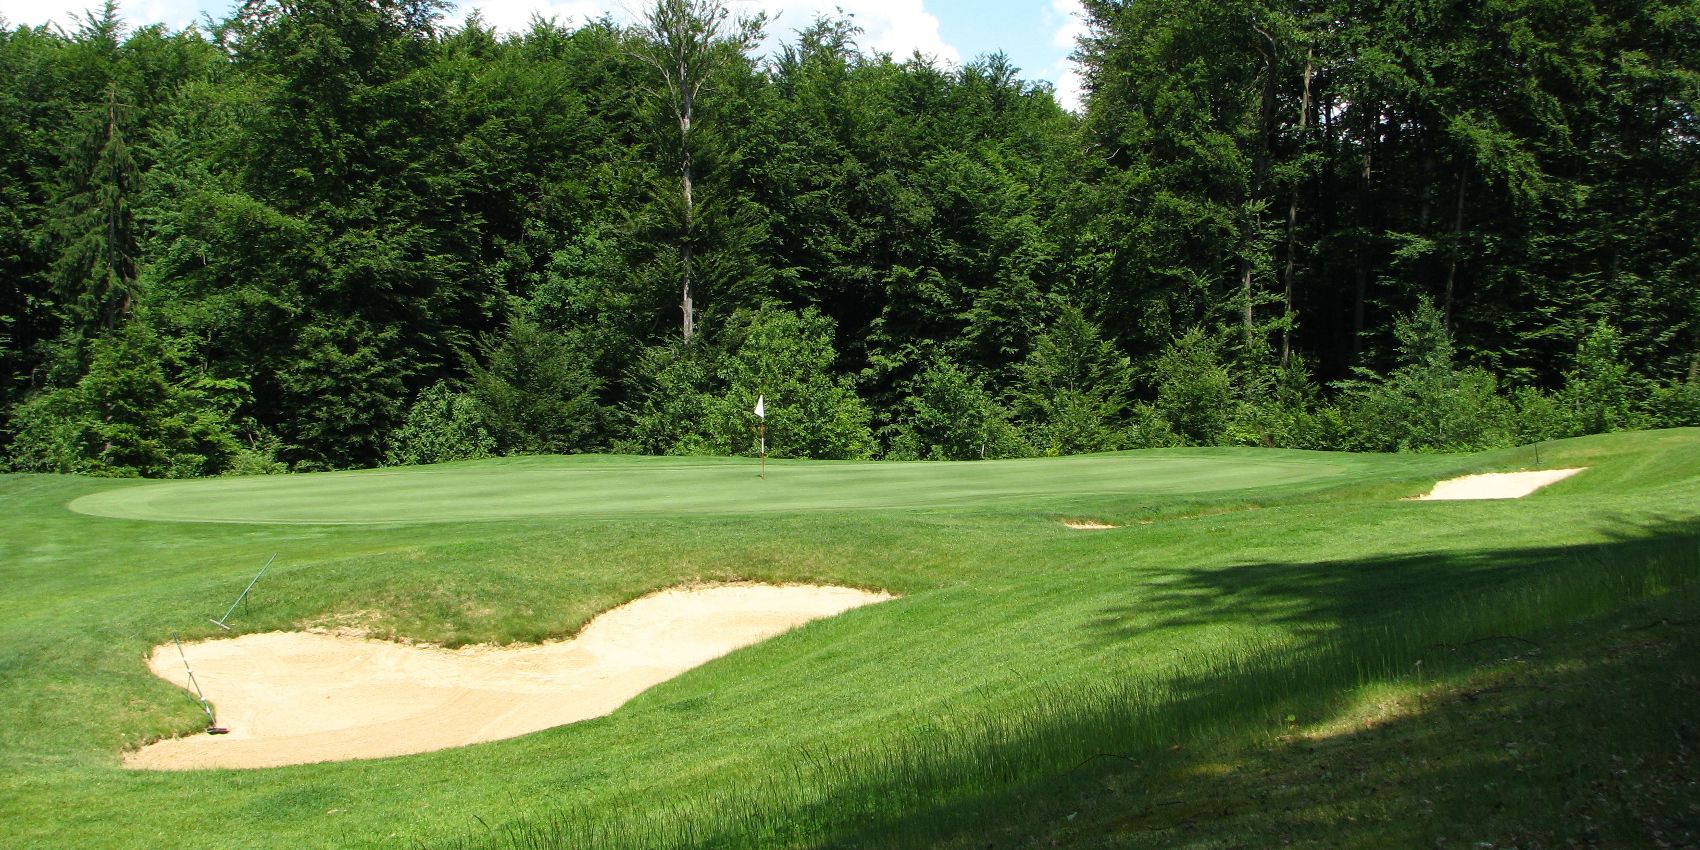
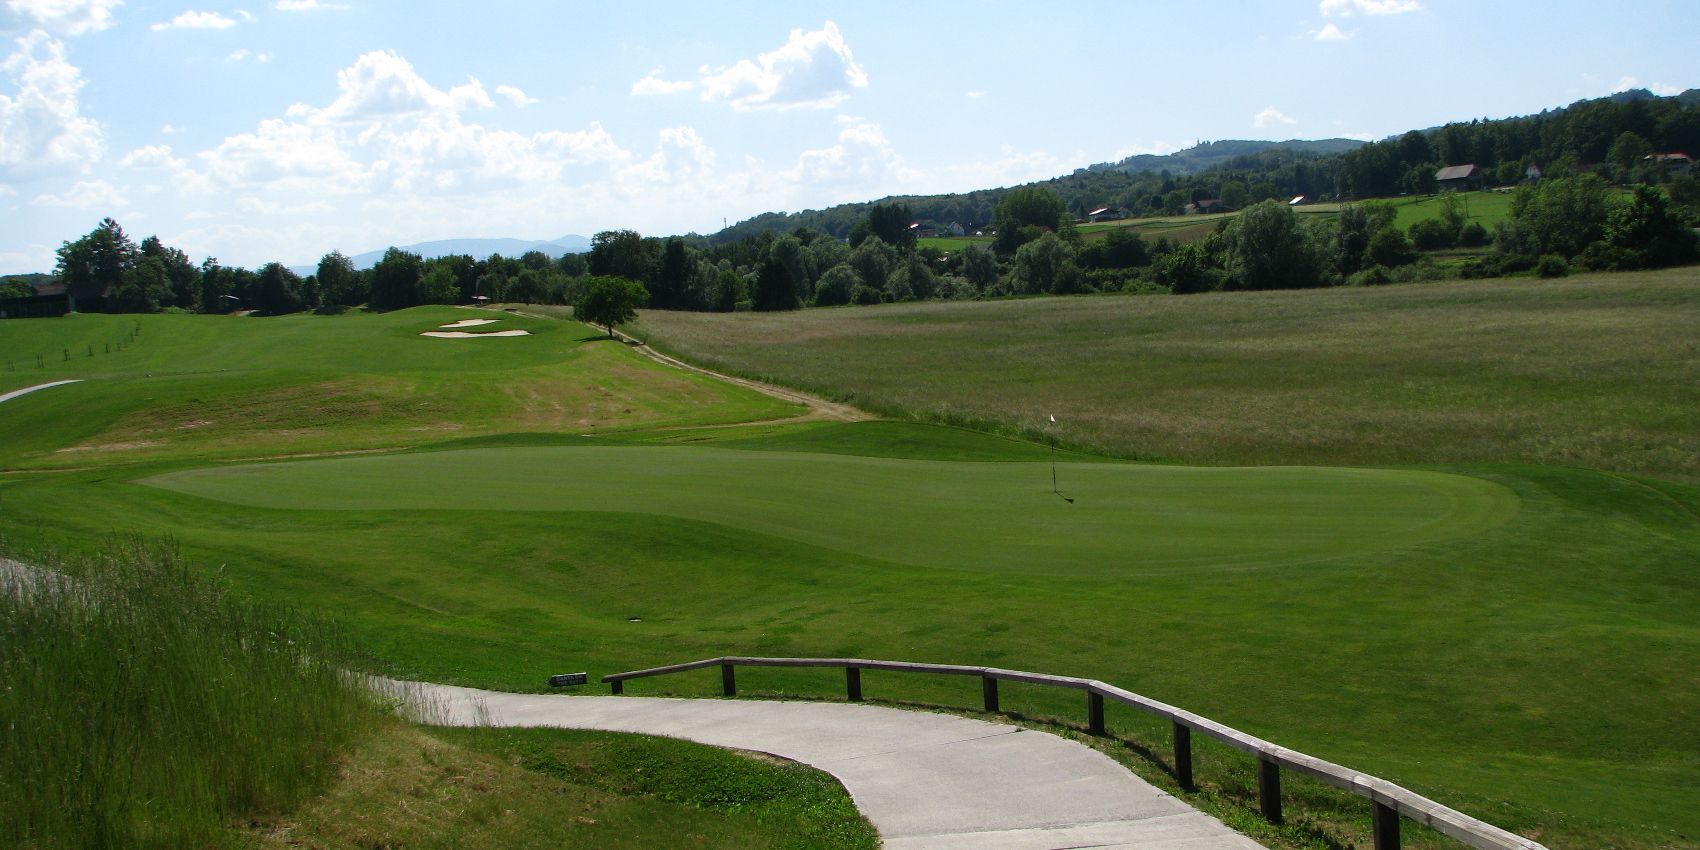
- PAR4
- HCP0
- Stroke9
- 358
- 336
- 303
- 303

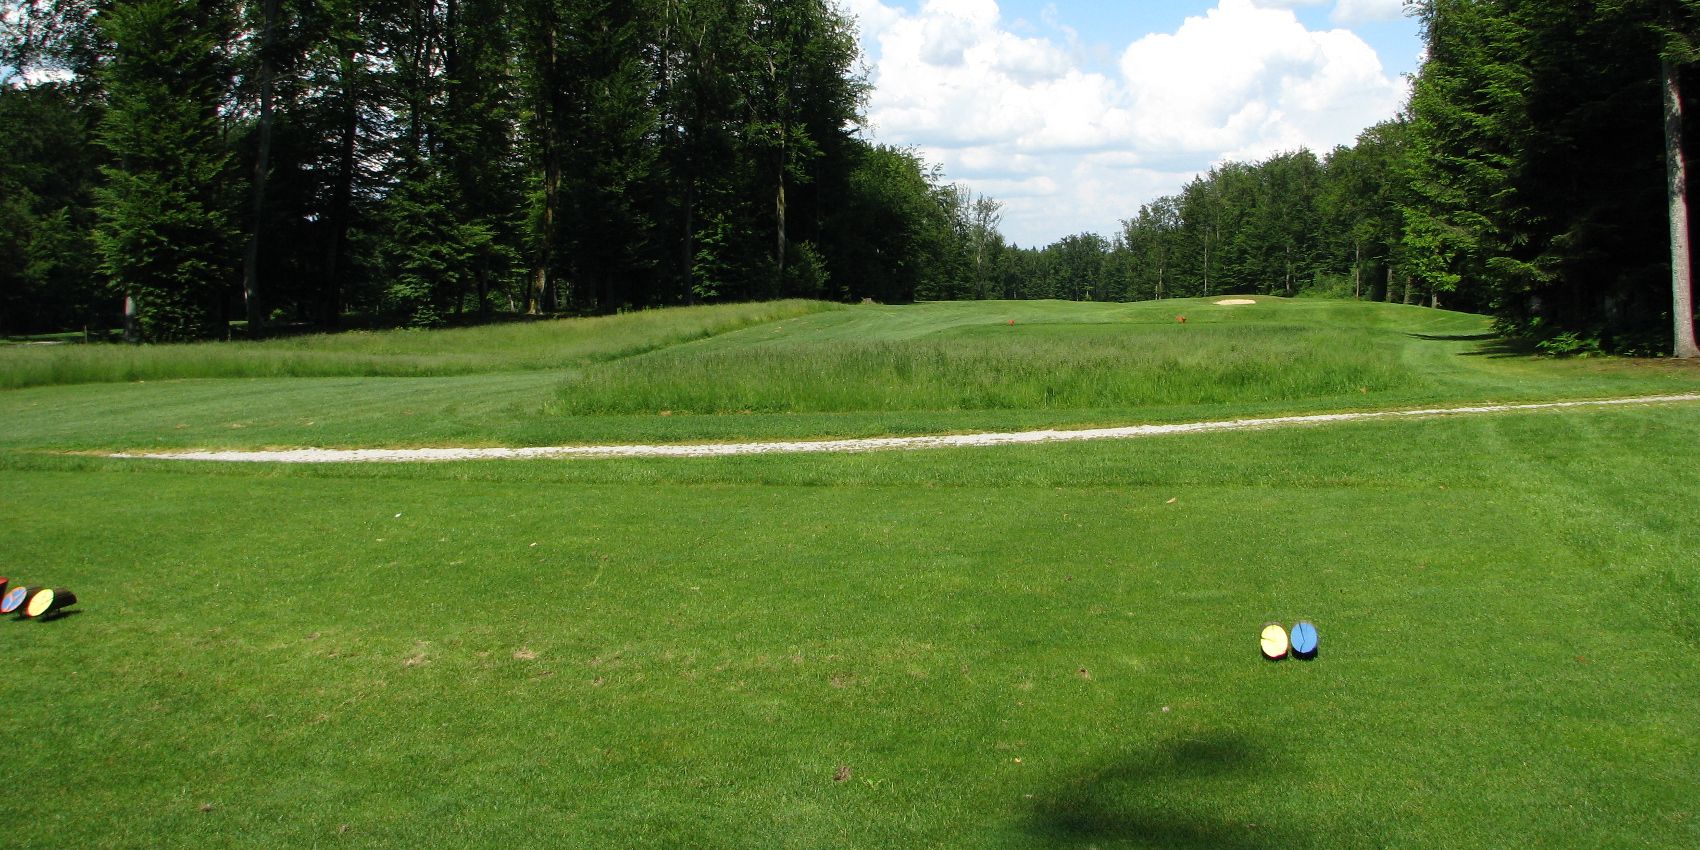
We cannot see the green from teeing ground of 385 meters long par 4 of second hole. A good aid for direction of the green is a three-top spruce. We need to be careful not to hit longer than 230 meters as the ball can hit the water hazard or the ball might go downhill with the second shot. Not long enough shot will result with a ball hitting the sand barrier.
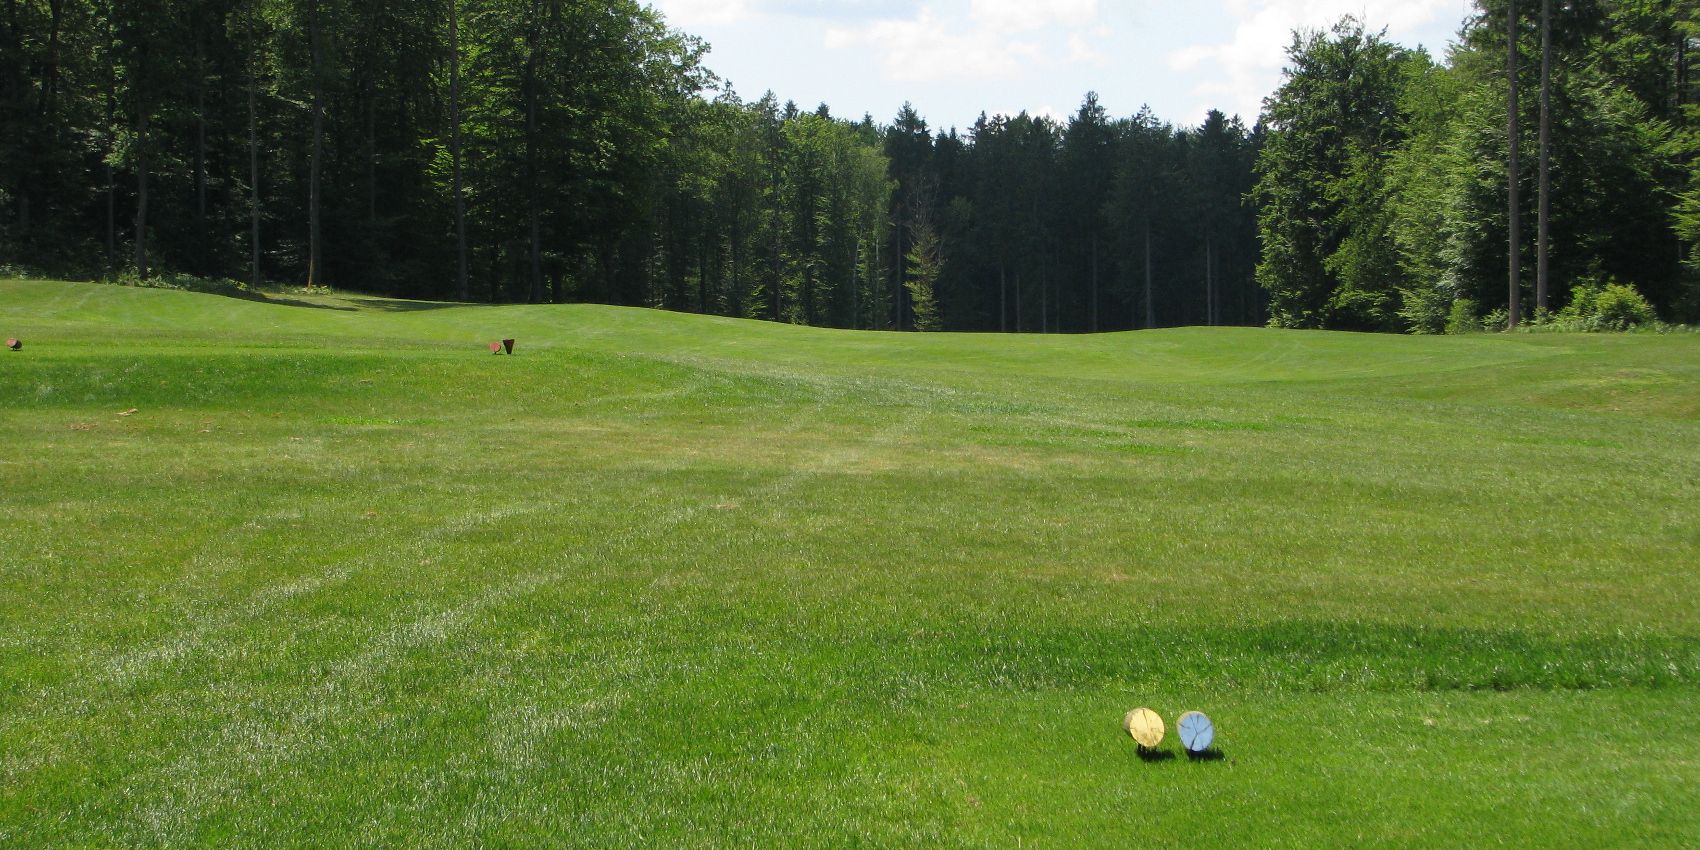
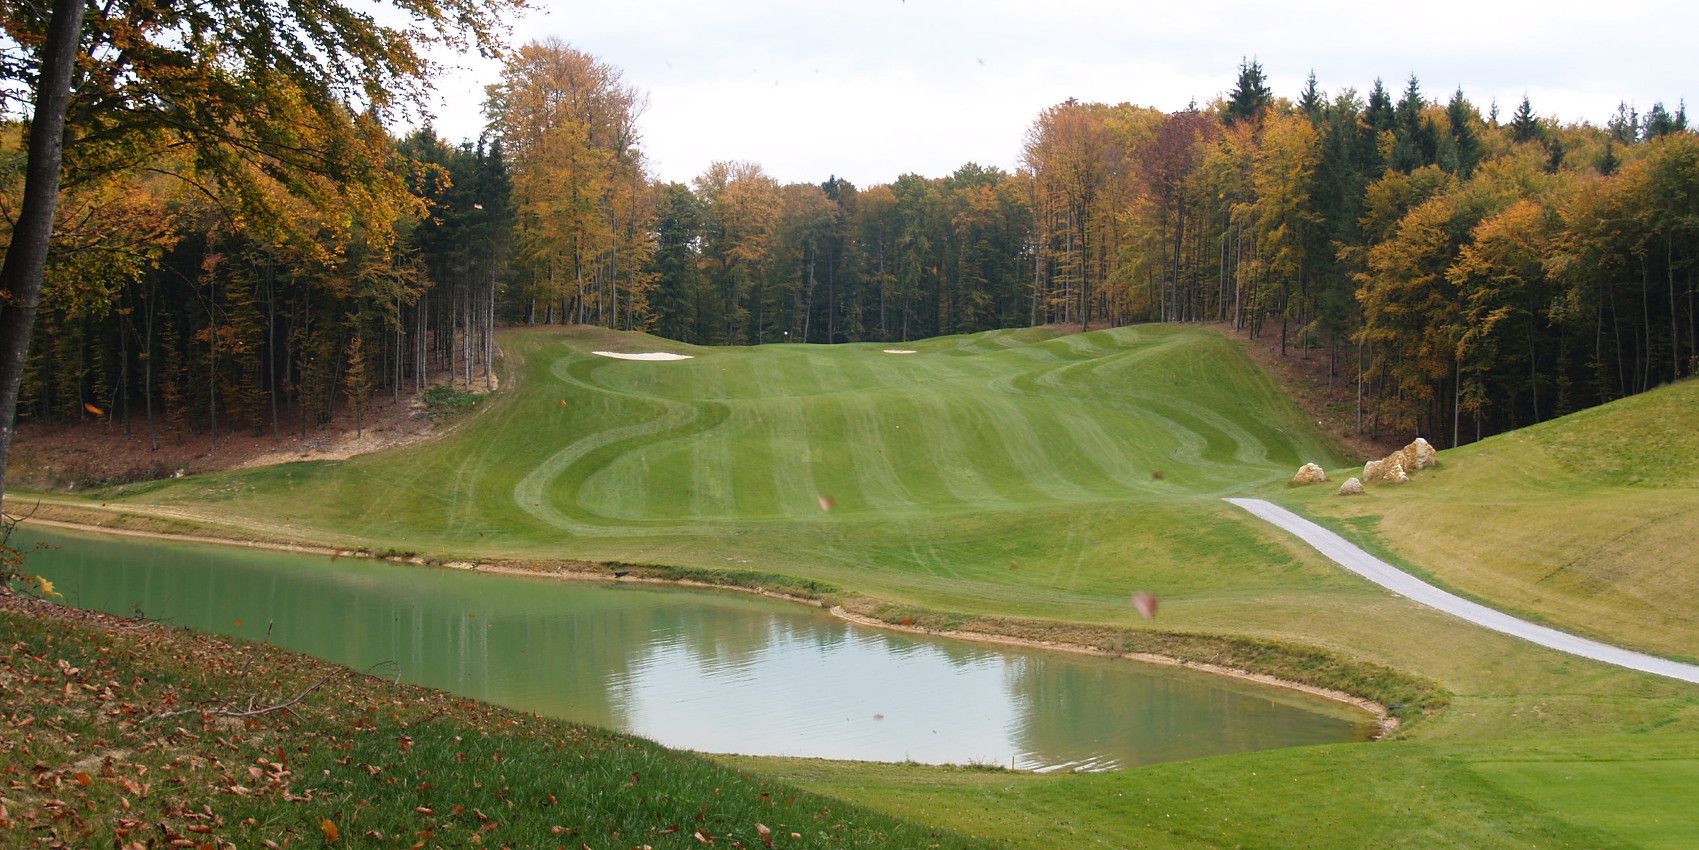
- PAR5
- HCP0
- Stroke5
- 495
- 490
- 472
- 366

495 meter long par 5 can be rewarding to players with long shots. From teeing ground a sand hazard can be seen on the right side of the clearing. The distance to the hazard is 210 meters. A 250 meter shot enables the ball to be hit to the green, which cannot be seen, with only two strokes. The green is hidden by two sand hazards and is located 5 meters lower than the hazards.
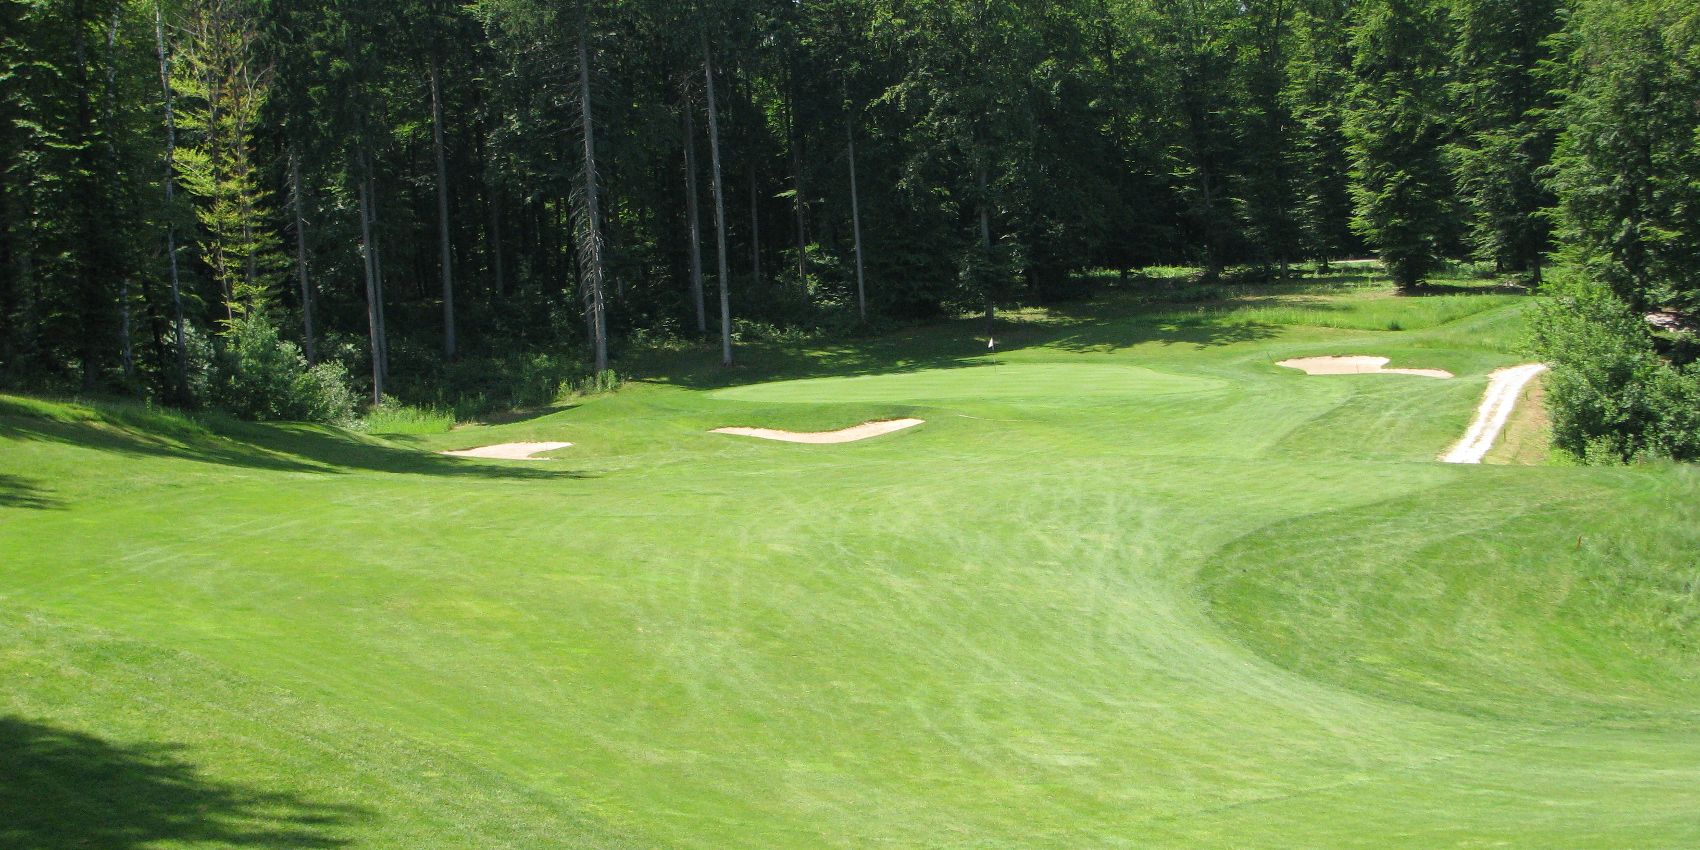
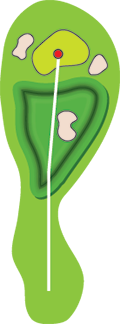
- PAR4
- HCP0
- Stroke7
- 369
- 352
- 347
- 276

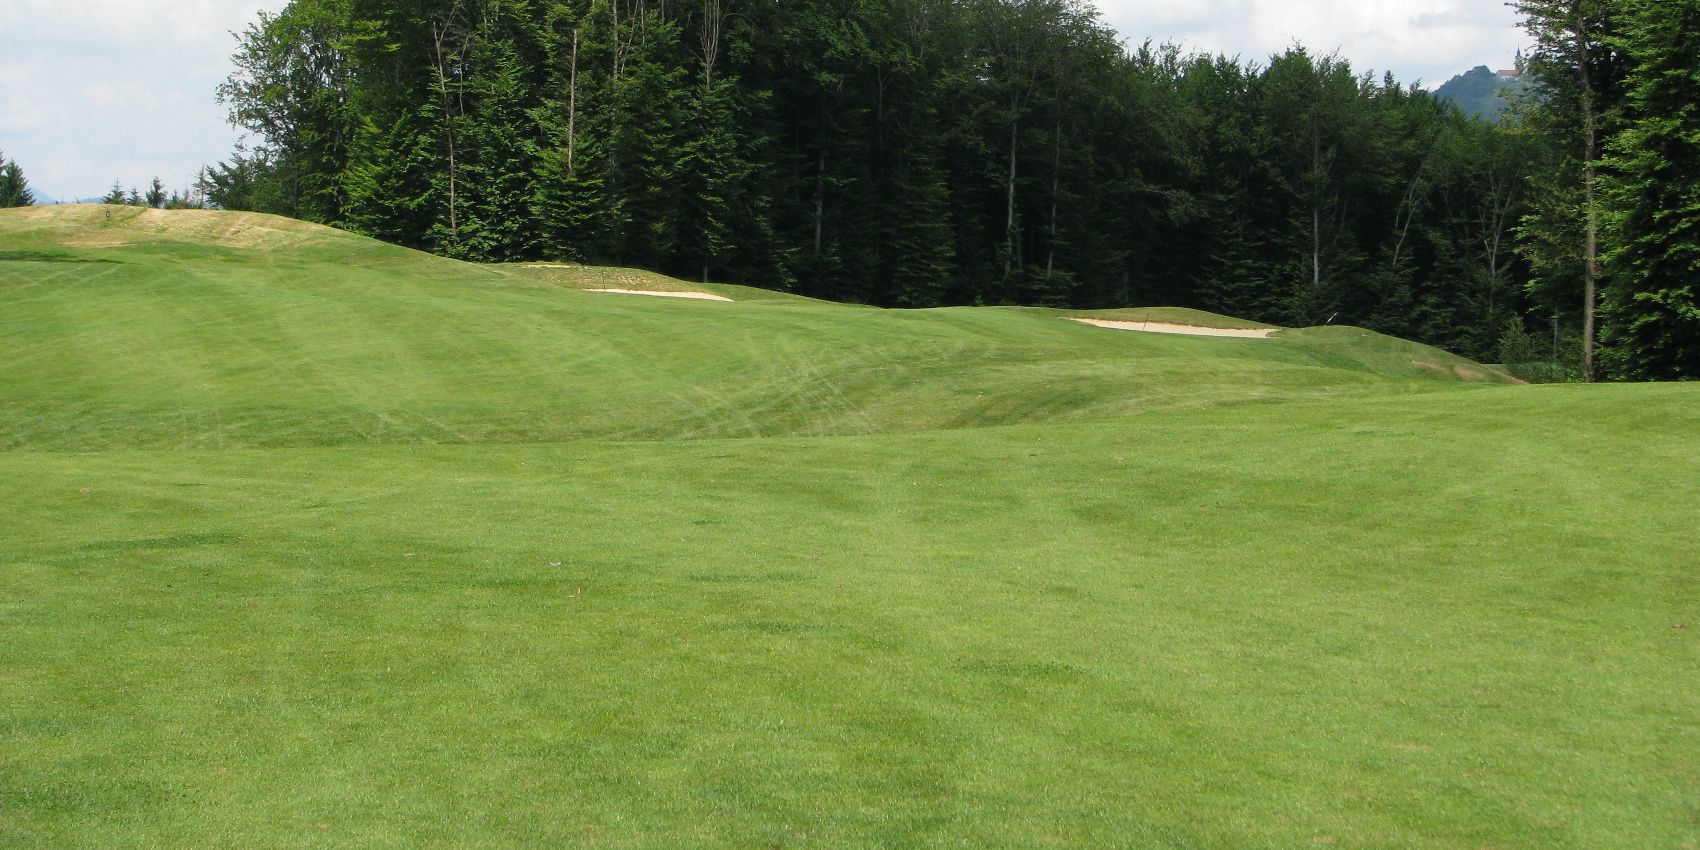
On the teeing ground of 369 meter long par 4, our eye catches the rocks and sand hazards on the right side of clearing. With the first shot to the left, length 180 meters, the ball will be set above the depression and the opportunity will is given to attack the green from the distance of 150 meters, a difference scenario means attacking from the hill. The green has two sand hazards on the right; the last part is rising to the next level which is 70 centimeters higher.
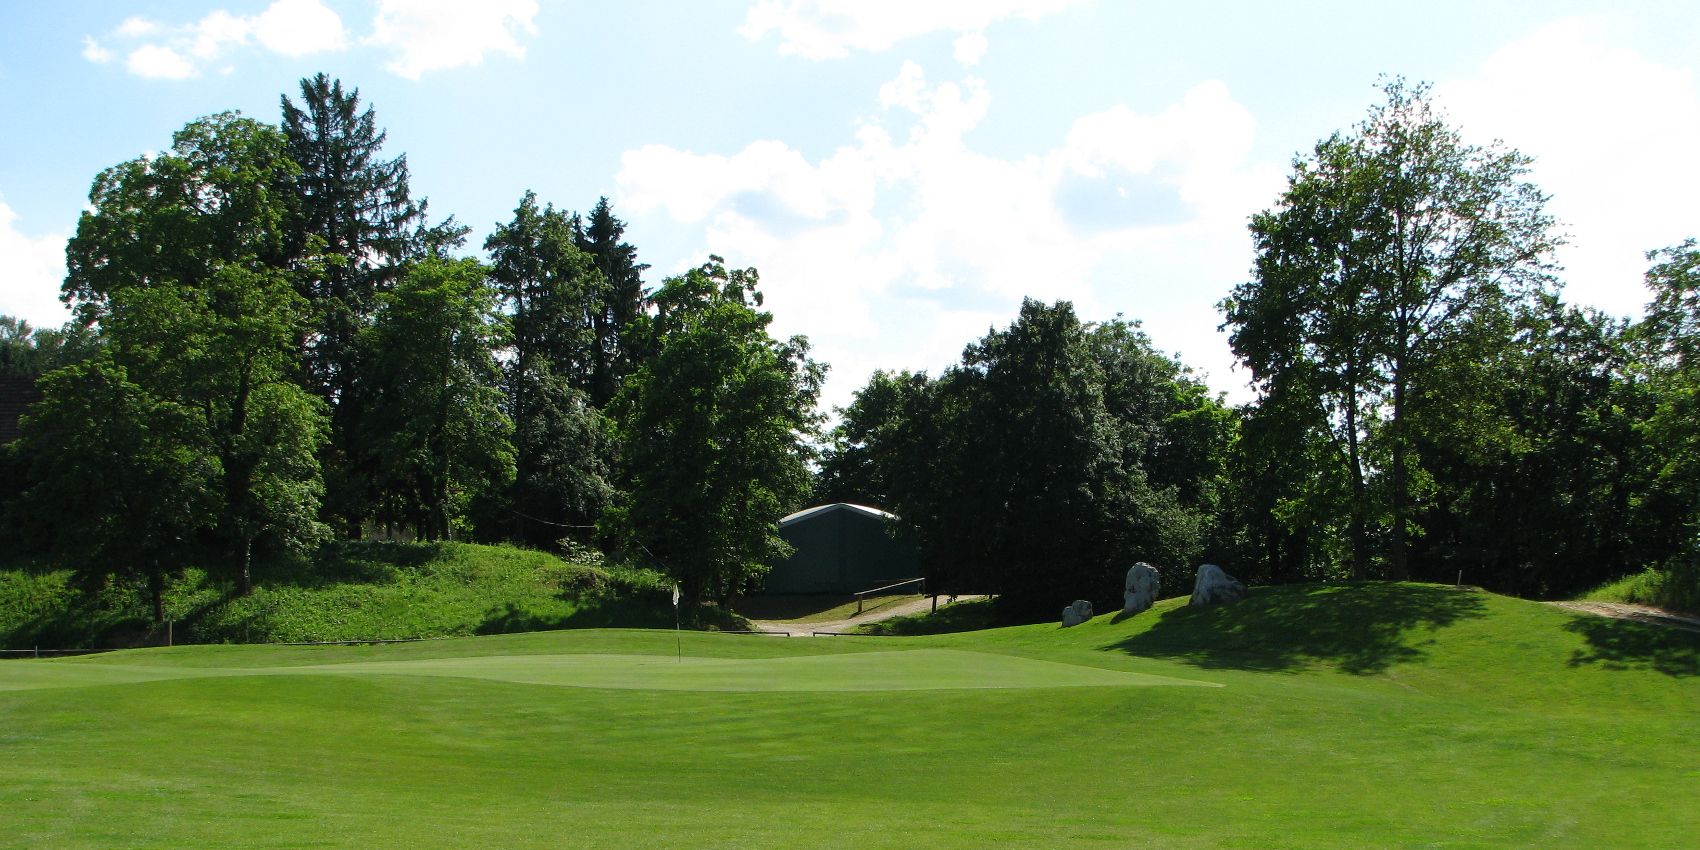
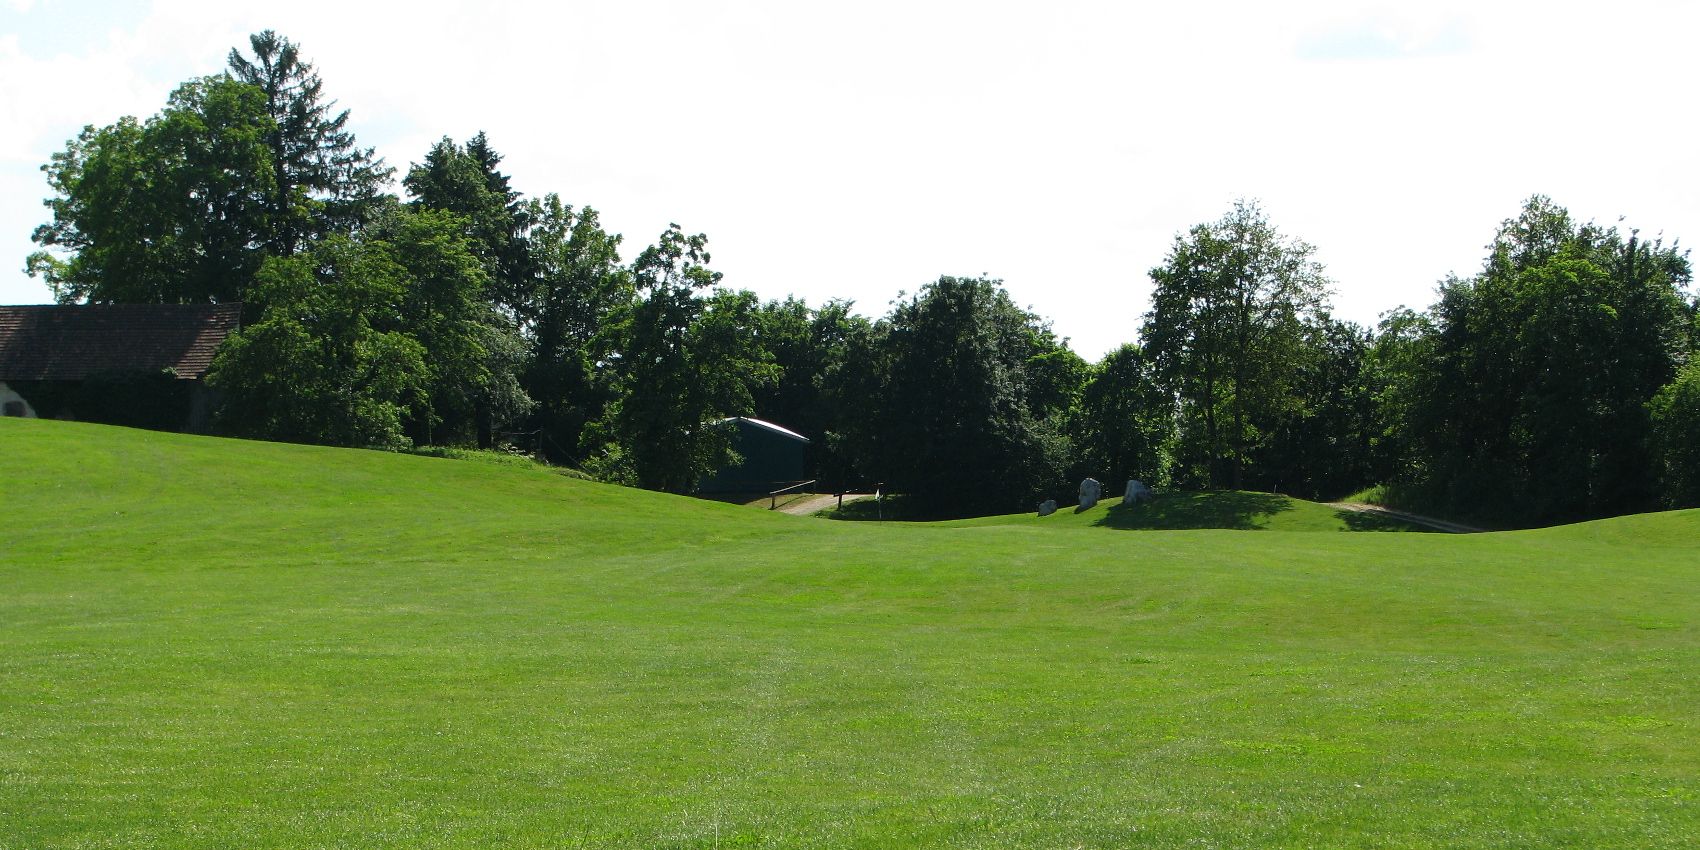
- PAR3
- HCP0
- Stroke17
- 162
- 136
- 132
- 114

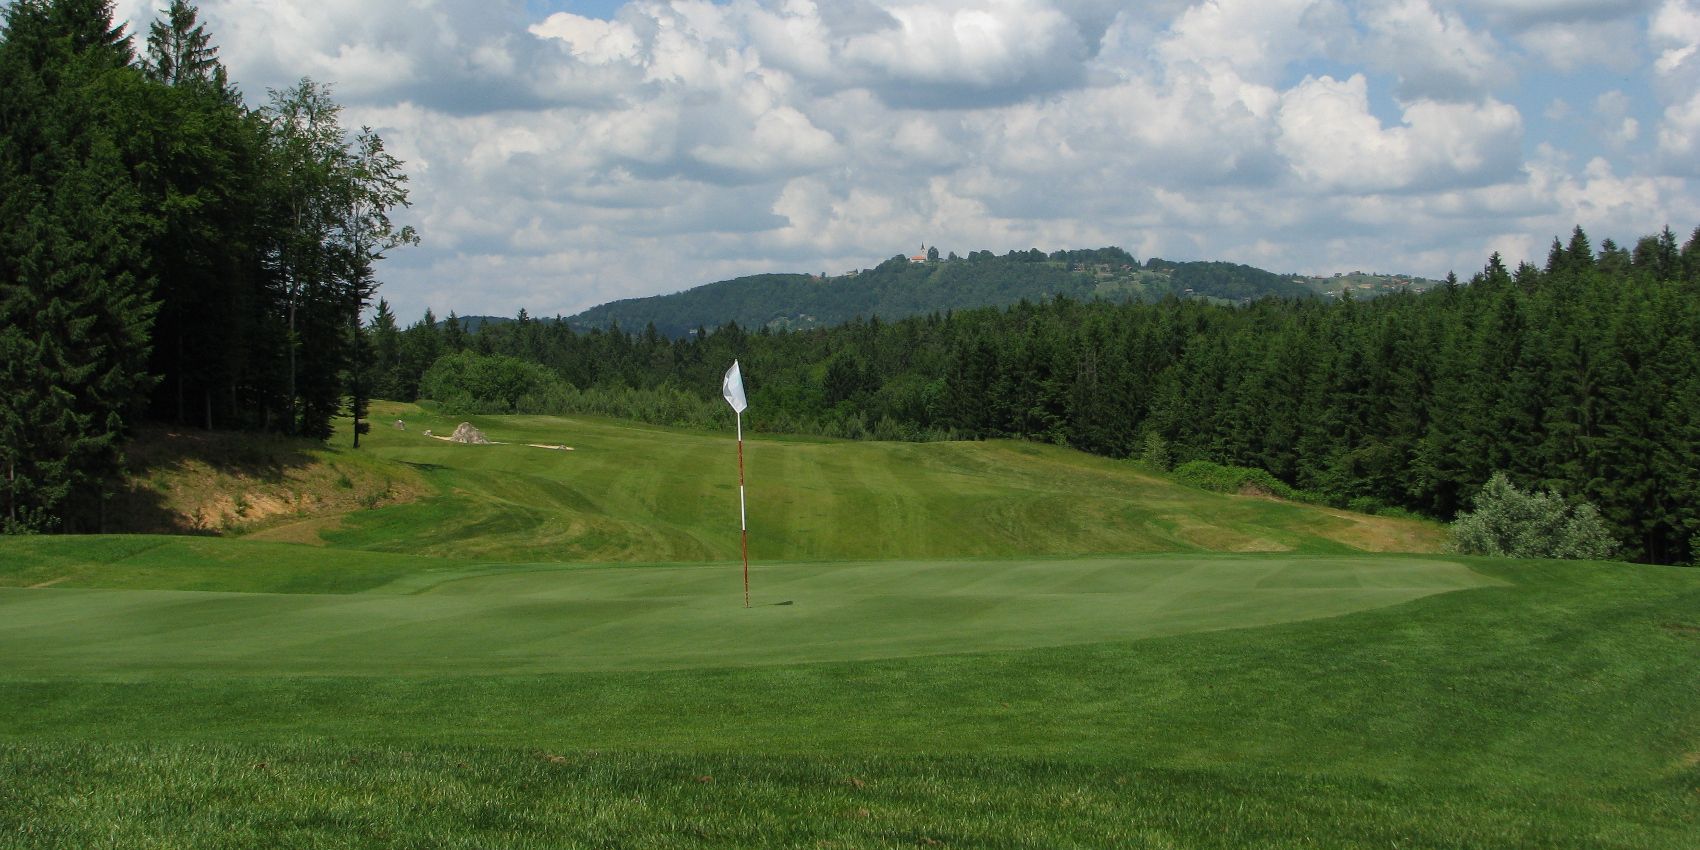
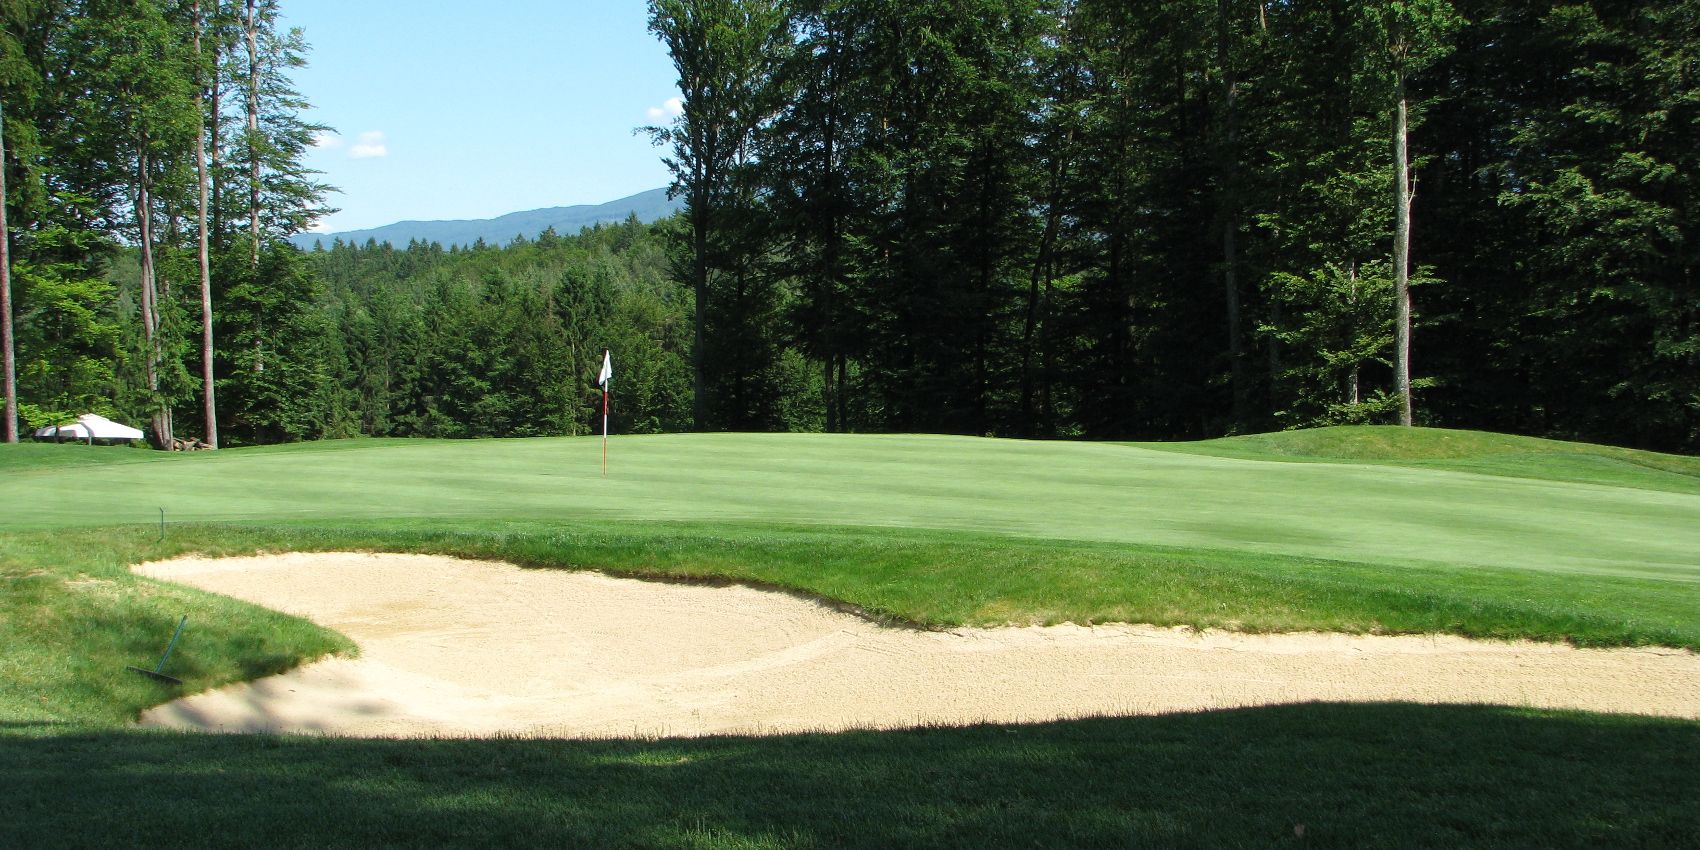
Par 3 is 162 meter long and has the teeing ground risen above the green which is enclosed with two sand hazards. If we hit on the wrong side of the green, the result will be a very long putt.
- PAR4
- HCP0
- Stroke1
- 352
- 321
- 311
- 291

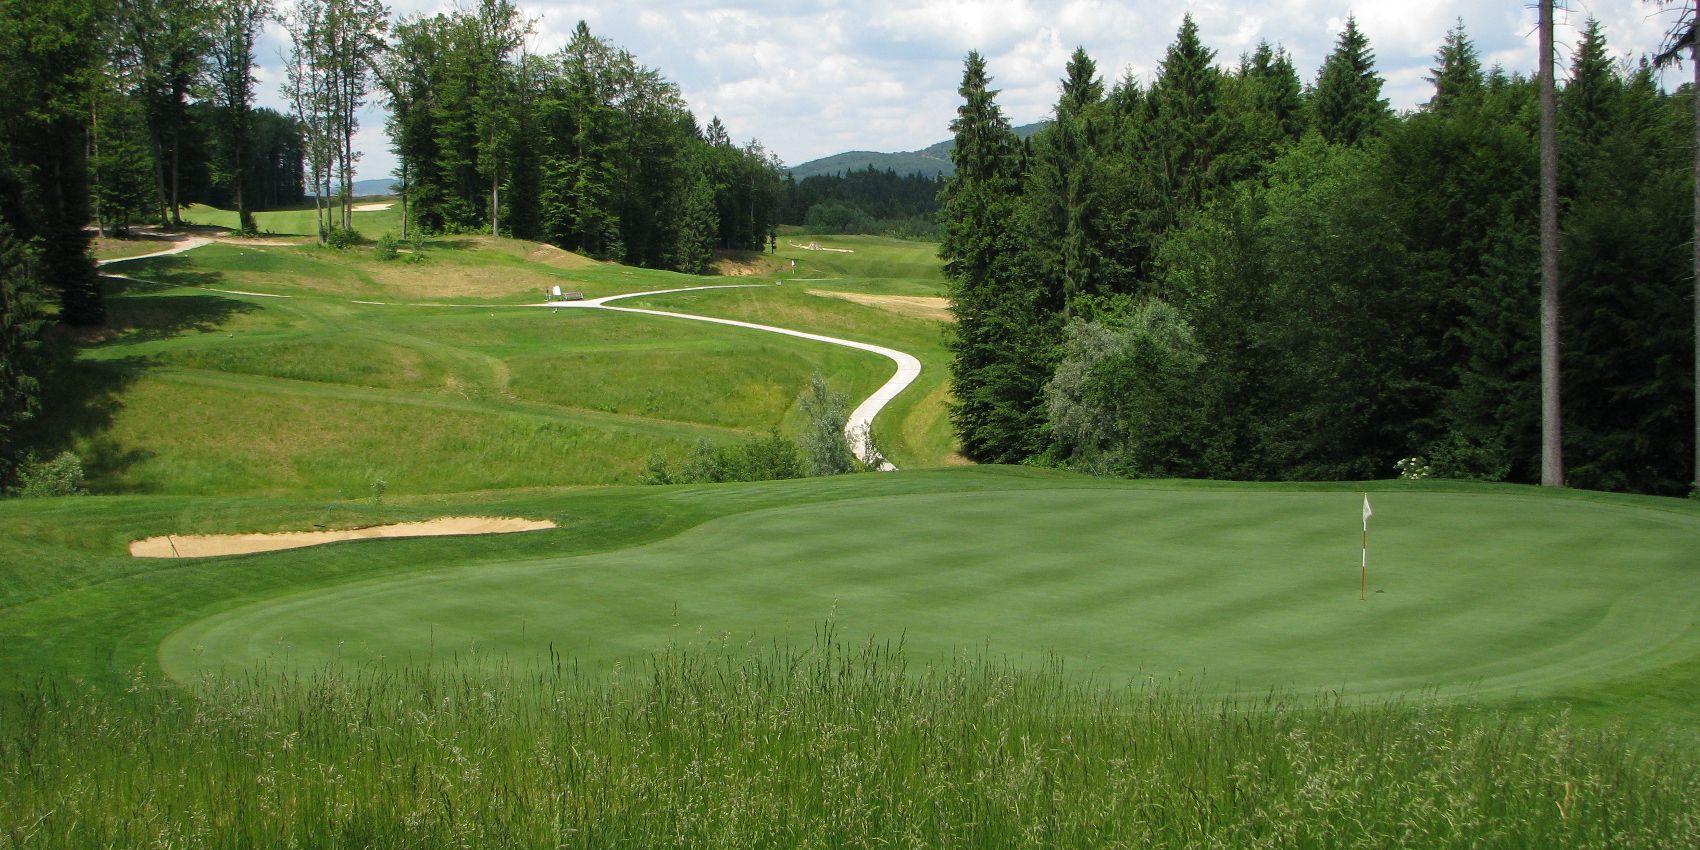
The view from the teeing ground of 352 meter long par 4 of hole six can be scary: a big depression, rising and left turn clearing and two sand hazards. The first 200 meter long shot takes us in front of sand hazard two, the distance to the green is 110 meters. We have to be extra careful when aiming at the green, so that the ball does not end in one of the two sand hazards in front of the green. Hole 6 is rounded off with a water hazard.
- PAR5
- HCP0
- Stroke11
- 494
- 480
- 470
- 437
At par 5, length 494 meters, players with long shots can reach the green with two shots, however several hazards are placed. If the first shot is longer than 240 meters, the second one should be aimed at the left side of the clearing to avoid landing in the depression which is hidden on the right side. One also needs to decide either to play in front of the green or behind the green with the second shot. When aiming at the green we need to consider the two sand hazards on the left and right side and the water hazard which starts 150 meters before the green and an additional sand hazard next to the green. It is safer to hit the ball 110 meters, to stop in front of the green and attack from there.
- PAR4
- HCP0
- Stroke3
- 360
- 334
- 327
- 296
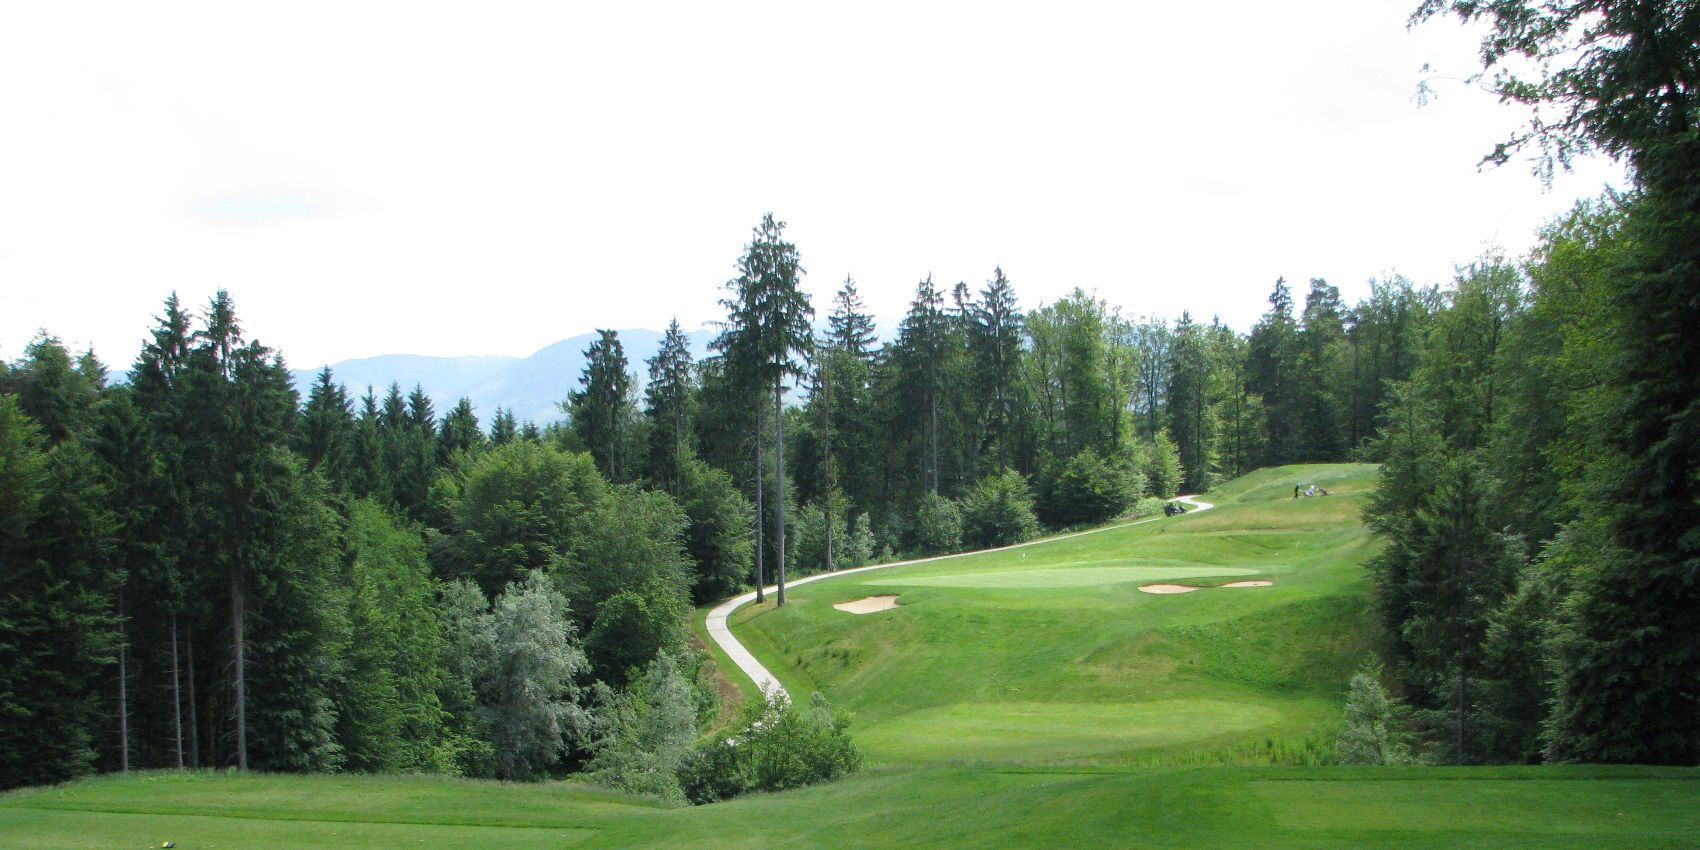
From teeing ground of 360 meters long par 4 of hole 8 we must overcome a great depression with a hidden lake, to reach a shelf from which we can see one of two sand hazards of the hole. To reach the shelf we need to shot the ball over 220 meters. If we are successful, the second shot will leave us on the hill, 160 meters away from the green which we cannot see. After a successful first shot we attack the green, surrounded with three sand hazards and a water hazard behind it, from a distance of 120 meters.
- PAR3
- HCP0
- Stroke15
- 202
- 170
- 165
- 104

This is where we have one of more demanding pars 3, 202 meters in length. The first shot should be carried out with a long stick over the depression with a water hazard. We need to be careful not just about the distance of the shot, but also of the direction as a right turn of the ball would result in ball landing in the sand hazard in front of the green or even in the water hazard.
- PAR5
- HCP0
- Stroke14
- 468
- 437
- 427
- 351

468 meters long par 5 of hole 10 falls under the shortest pars of the course, however this hole should not be underestimated as we need to make a clear shot towards the shelf on the clearance, 220 meters away. The landing zone is surrounded with a water hazard which stretches’ on the left and right of the hole. If our first shot is spot on the shelf, we can attack the green with a second, 210 meters long, shot. The sand hazard on the left is now avoided and we are 50 meters away from the green which has two sand hazards on its' right side.
- PAR3
- HCP0
- Stroke12
- 216
- 205
- 190
- 177
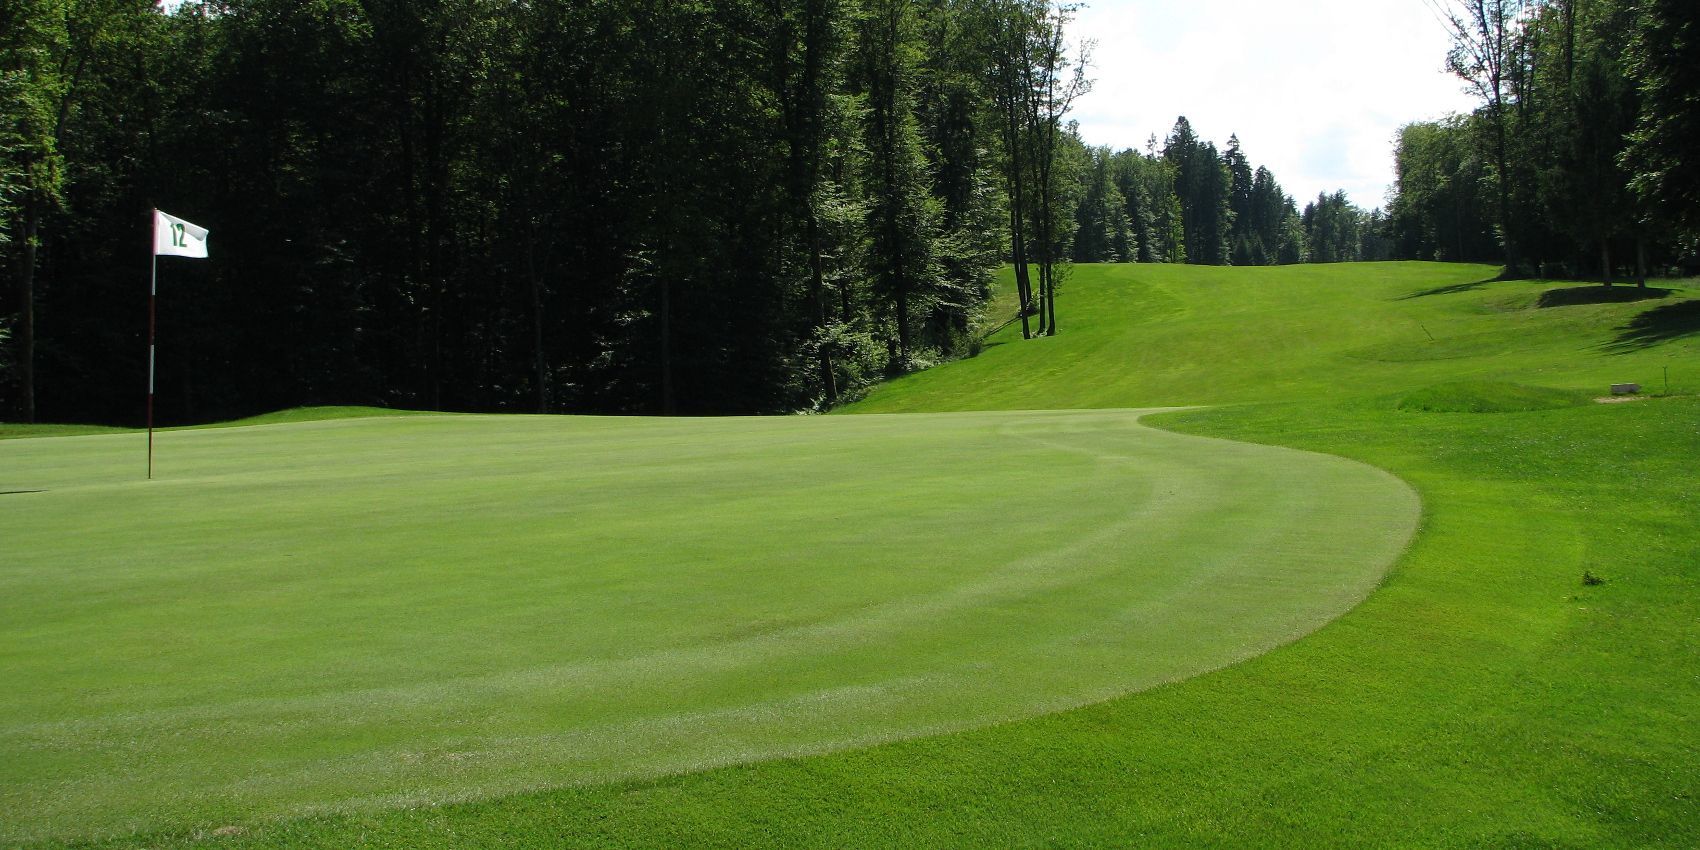
This hole has the most demanding par 3 on the course. Par's length is 216 meters. If we want to reach the green, with sand hazards on the side, we have to beat a clearing with a sand hazard when hitting from the teeing ground. If we immediately hit 190 meters, we have nothing to fear, just the par mentioned before.
- PAR5
- HCP0
- Stroke2
- 568
- 533
- 483
- 483

The second longest hole in Slovenia, par 5, is 568 meters long. After the first shot, sand hazard on the right side of clearing is waiting in the distance of 250 meters. More demanding is shot two, where we need to put the ball on the left side of the clearing, very closely to the trees. The reason for this lies in a narrower clearing which is tilted to the right, towards the water barrier. We also need to be careful when aiming at the green as it is protected by two sand hazards, on the left and right.
- PAR4
- HCP0
- Stroke8
- 342
- 322
- 322
- 308

A hole with par 4, 342 meters long, has the greatest width of clearing. The first shot is done blindly towards the hill. We notice three sand hazards on the right side. With a left shot, which should measure between 180 and 200 meters, we avoid the hazards and climb to the top of the hill. From here we have a view of the green with two levels and sand hazards on the left and right.
- PAR4
- HCP0
- Stroke6
- 342
- 322
- 322
- 254

Fourteenth hole, par 4, 342 meters long, makes us to shoot for 200 meters from the teeing ground over the depression to a reasonably large landing area in front of the sand hazard on the left, with the first shot. The green is surrounded with sand hazards and has two levels which go along the green with the direction of the fall from right to left.
- PAR3
- HCP0
- Stroke16
- 178
- 174
- 170
- 142
Fifteenth hole 178 meters, long par 3, has a big birch tree on the right which shouldn't be mistaken for a flag on the green on the left side in front of which we have two sand hazards that the ball needs to overfly.
- PAR4
- HCP0
- Stroke4
- 351
- 313
- 313
- 274

Par 4 of the sixteenth hole with length of 351 meters doesn't belong among the longest. But the figuration of the terrain makes it more difficult. Teeing ground is raised above the clearing to which we get by a 200 meter shot over the corrie which stretches over the right side of the whole, so right hand strokes are not applicable. The shot towards the green must be precise, over the sand hazards, a long shot is not recommended as the next shot would be played from the teeing ground of the seventeenth hole, 30 meters below the green and uphill.
- PAR3
- HCP0
- Stroke18
- 138
- 130
- 120
- 103

With a length of 138, the seventeenth hole has the shortest par 3 of the course, half of the green cannot be seen due to a hill on the left side. When aiming the green, which has two levels (a left to right drop), we have to pay attention to the out bounds area. This is the only hole without sand hazards.
- PAR5
- HCP0
- Stroke10
- 468
- 442
- 438
- 363

The last hole of the course is par 5, 468 meters long. Teeing ground is slightly raised so we need be careful with out of bounds area on both sides of the clearing. On the right side are two sand hazards. From here for players with long shots green is reachable with only two shots. The last green has the biggest surface (960 m2), so the final putt or shot on the green can be very long – up to 35 meters.